
Tools
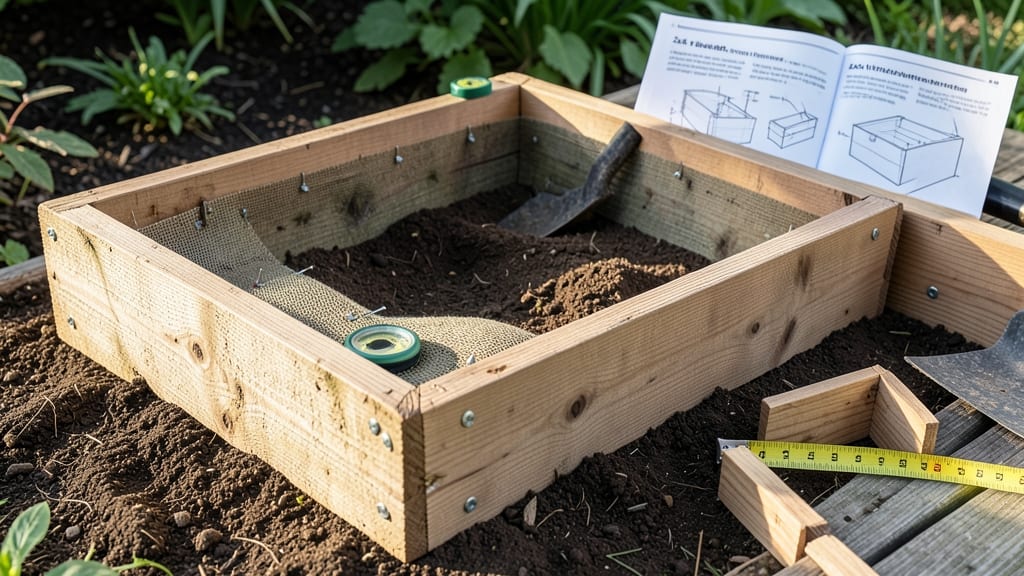
Building a 2x4 raised garden bed plans is one of the most rewarding weekend projects for any gardener—whether you're a total beginner or looking to upgrade your growing space.
Picture this: a sturdy, custom-sized bed that keeps weeds at bay, warms up faster in spring, and lets you grow 🌱 your favorite veggies without bending over.
With just a few basic tools and a handful of lumber, you can create a long-lasting garden that works for your space, budget, and planting goals.
What makes these plans so special? They’re designed to be simple, cost-effective, and adaptable—whether you want a classic rectangular bed, a corner-friendly design, or even a tiered layout for herbs and flowers. No complex math or power tools required.
In this guide, you’ll get a free cut list, step-by-step assembly tips, and pro tricks to customize your bed for maximum productivity—so you can start planting by next weekend.
Free 2x4 raised garden bed cut list and material breakdown for 4x8 feet
A 4x8-foot 2x4 raised garden bed is one of the most popular sizes because it fits perfectly in most backyards while maximizing growing space. This cut list ensures you purchase the right amount of lumber, minimizing waste and saving money.
Whether you're growing vegetables, herbs, or flowers, this standard size works for almost any garden layout.
Before you start, grab a tape measure, pencil, and saw. You’ll need untreated cedar or redwood for longevity, or pressure-treated lumber if you prefer affordability. Cedar resists rot naturally, making it ideal for long-term garden beds.
For a 12-inch-tall bed, this cut list assumes standard 2x4 lumber dimensions (actual size: 1.5" x 3.5").
For the frame assembly, you’ll need 16 long 2x4s (8 ft each) for the outer edges and 16 short 2x4s (4 ft each) for the inner edges. This creates a double-layered frame that adds stability.
If you’re using cedar lumber, expect to pay around $150–$250 depending on local prices. For pressure-treated lumber, costs drop to $100–$180 but may require extra sealing.
One of the most common mistakes is skipping corner bracing. Without it, your bed may warp or collapse over time, especially if filled with heavy soil. Use either diagonal 2x4 braces or galvanized corner braces for added strength.
I recommend stainless steel screws to prevent rusting, which can happen quickly in moist garden conditions.
If you’re on a tight budget, consider reusing old lumber from pallets or fences. Just ensure it’s untreated and free of chemicals that could harm your plants.
Another cost-saving tip is to buy lumber in bulk or split the project with a neighbor to share materials. Always measure twice before cutting
Step-by-step assembly guide for building a 2x4 raised garden bed
A sturdy 2x4 raised garden bed starts with precise assembly. Follow these steps to build a frame that won’t warp or collapse over time. I’ll walk you through securing corners, leveling the frame, and adding the finishing touches for a professional-looking bed that lasts for years.
Before you begin, gather your pre-cut 2x4 lumber, deck screws, and a level tool. Work in a flat, stable area like a driveway or patio to make assembly easier. The key to a long-lasting bed is attention to detail—especially at the corners and along the edges.
Build Your Raised Garden Bed in 7 Simple Steps
-
Step 1: Assemble the Bottom Frame
Lay two 2x4 corner posts (12" tall) at opposite corners. Attach the bottom long sides (8' length) to the posts using 3-inch deck screws, pre-drilling holes to prevent splitting. Repeat for the other two corners. -
Step 2: Add the Top Frame
Place the top long sides (8' length) on top of the corner posts, aligning them flush. Secure with 2.5-inch deck screws into the posts, ensuring the frame is square (measure diagonals to confirm). -
Step 3: Install Corner Braces
Cut 2x4 braces at 45-degree angles (for a hidden look) or use L-brackets for extra stability. Attach one brace per corner to the inside of the frame, securing with 2-inch screws. -
Step 4: Level the Frame
Place the assembled frame on gravel or landscape fabric to prevent rot. Use a level tool to adjust the frame, shimming with small rocks or wood blocks if needed. Ensure all sides are even. -
Step 5: Secure the Sides
Attach the short sides (4' length) to the frame using 2.5-inch deck screws, pre-drilling holes. Double-check for square corners by measuring diagonals again. -
Step 6: Reinforce the Structure
Add horizontal 2x4 supports halfway up the sides (optional for taller beds). Screw them into the corner posts for added rigidity, especially if your bed is over 12 inches tall. -
Step 7: Add Drainage Holes (Optional)
Drill 1/4-inch drainage holes in the bottom corners of the frame if using landscape fabric or hardware cloth. This prevents waterlogging and extends the bed’s lifespan.
Once your frame is assembled, it’s time to add the finishing touches. Line the bottom with cardboard or landscape fabric to block weeds, then fill with a mix of topsoil, compost, and aged manure for nutrient-rich growing conditions.
Pro tip: Leave a 2-inch gap between the bed’s edge and the soil to prevent erosion.
For extra durability, apply a non-toxic wood sealant to protect against moisture and pests. This step is optional but highly recommended if you’re using untreated lumber. Your raised bed is now ready for planting—just add your favorite vegetables, herbs, or flowers! 🌱
If you encounter warping or uneven sides, double-check your corner braces and screws. A well-built frame ensures your garden bed stays sturdy for years, giving your plants the perfect foundation to thrive. Happy building! ✂️