
Tools
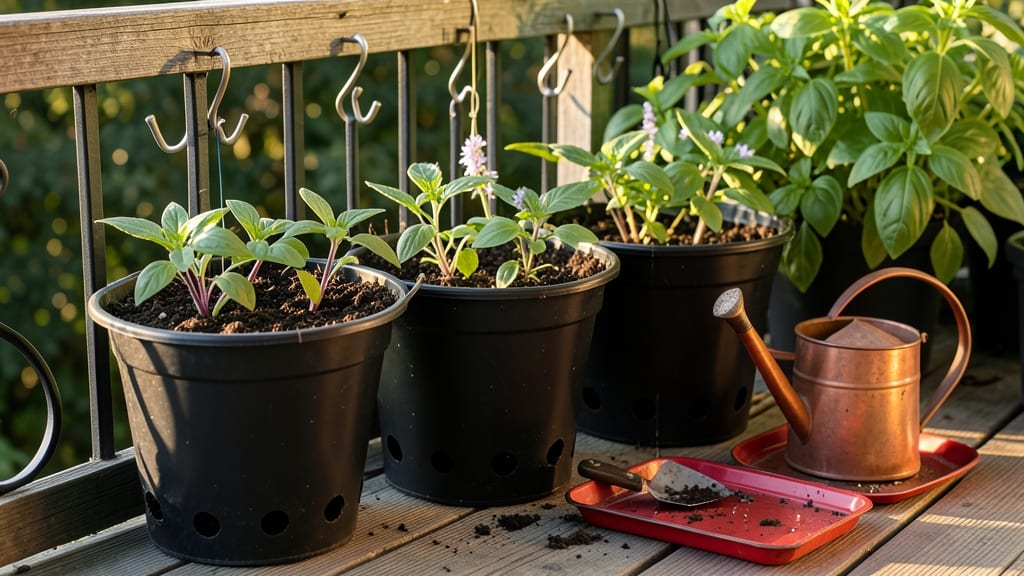
Mastering bucket gardening 101 means turning a few simple containers into a thriving mini-garden—no green thumb required.
Imagine growing fresh herbs, veggies, or flowers with just a few buckets and minimal space—no yard or complex setup required. Whether you're crammed in an urban apartment or just want a low-maintenance way to grow your own food, this method is your ticket to a green thumb without the fuss.
You don’t need fancy tools or a sprawling backyard. With the right containers, soil, and a few easy-care plants, you’ll be harvesting in just a few weeks. Below, I’ll walk you through the essentials: from picking the perfect buckets to troubleshooting common mistakes so you can grow with confidence.
Ready to dive in? Let’s turn those buckets into a productive garden—no matter how small your space.
Bucket gardening basics: tools, containers & soil requirements
Bucket gardening transforms simple household containers into thriving mini-gardens, perfect for small spaces or urban balconies. The key to success lies in selecting the right containers, essential gardening tools, and a nutrient-rich soil mix.
Whether you're growing herbs, veggies, or flowers, these basics ensure your plants thrive without the need for a traditional garden bed.
Start with 5-gallon buckets as your foundation—they provide enough space for most plants while remaining manageable. Look for durable materials like plastic or metal, but avoid treated wood, which can leach harmful chemicals. Drainage holes are non-negotiable; they prevent root rot by allowing excess water to escape.
If your bucket lacks holes, drill them yourself using a 1-inch drill bit.
Next, gather the must-have tools for bucket gardening: a hand trowel for soil prep, a pair of gardening gloves to protect your hands, and a watering can with a narrow spout for precise watering.
Don’t forget a measuring cup for mixing soil amendments and a spray bottle for seedlings. These tools keep your setup efficient and stress-free.
Now, let’s compare DIY soil mixes versus pre-made potting soil to help you decide which works best for your plants. The right soil blend ensures proper drainage, aeration, and nutrient availability—critical factors for container gardening.
A DIY soil mix is ideal if you’re growing heavy feeders like tomatoes or peppers. Combine 60% potting soil, 20% compost, and 20% perlite or vermiculite for optimal drainage and aeration. For herbs like basil or leafy greens, a lighter mix with 30% coco coir works wonders.
Pre-made potting soil is a great shortcut, but always check the label for moisture-retention and nutrient content.
For container size, match the bucket to your plant’s mature size. A 5-gallon bucket suits herbs and lettuce, while 7-10 gallon buckets are better for tomatoes or peppers.
Larger roots need more space to thrive. If repurposing buckets, clean them thoroughly with soapy water and a 10% bleach solution to kill bacteria or fungi from previous use.
Don’t overlook mulch—it conserves moisture, regulates soil temperature, and suppresses weeds. Use straw or shredded leaves on top of the soil after planting. This simple step reduces your watering frequency by up to 30%, saving you time and effort.
Just avoid piling mulch against the bucket’s sides to prevent rot.
Finally, place your buckets in a location with 6+ hours of sunlight daily. South-facing windowsills or balconies are ideal, but grow lights work for indoor setups.
Rotate buckets weekly to ensure even growth. With the right containers, tools, and soil, your bucket garden will flourish in no time.
Ready to start? Grab a bucket, gather your tools, and mix your soil—your first harvest is just a few weeks away! 🌱
Step-by-step bucket gardening setup guide for beginners
Bucket gardening is simpler than you think! Start by selecting the right 5-gallon buckets—they’re perfect for herbs and small veggies. Clean them thoroughly with soapy water to remove any chemicals or debris.
If your buckets don’t have drainage holes, you’ll need to drill them yourself using a 1-inch hole saw. This step is critical to prevent root rot from excess moisture.
Next, line the bottom of each bucket with a plastic mesh or landscape fabric to keep soil from falling out while allowing water to drain freely. This extra layer also helps maintain a clean workspace.
Once your buckets are prepped, it’s time to layer the soil—cactus or potting mix works best for most bucket gardens.
Step-by-Step Bucket Gardening Setup
- Step 1: Drill 4-6 drainage holes in the bottom of each bucket (if not already present).
- Step 2: Add a 1-inch layer of gravel or perlite at the bottom for extra drainage.
- Step 3: Fill buckets 2/3 full with potting mix, leaving room for roots to grow.
- Step 4: Plant seeds or seedlings according to their spacing needs (check seed packets for guidance).
- Step 5: Water gently but thoroughly until water drains from the bottom holes.
- Step 6: Place buckets in a sunny spot (6+ hours of sunlight daily) and monitor soil moisture.
- Step 7: Fertilize every 4-6 weeks with a balanced 10-10-10 fertilizer (1 tbsp per 5-gallon bucket).
After planting, establish a watering schedule based on your plants’ needs. Most bucket gardens require watering every 2-3 days, but check soil moisture daily during hot weather. Stick your finger about an inch into the soil—if it feels dry, it’s time to water.
Avoid letting buckets sit in standing water, as this can lead to fungal diseases.
For best results, place your buckets in a location with full sun exposure, like a balcony or windowsill facing south. If natural light is limited, supplement with a grow light for 12-14 hours daily.
Rotate your buckets occasionally to ensure even growth. With these simple steps, you’ll be harvesting fresh herbs or veggies in just a few weeks!
Remember, patience and consistency are key. Keep an eye out for pests like aphids or spider mites, and treat them early with neem oil or insecticidal soap. Happy gardening—your green thumb is just a bucket away! 🌱