
Picking
Harvesting shallots from your garden at the right time unlocks their boldest flavor—but miss the window, and you’ll end up with bitter, underdeveloped bulbs that taste more like disappointment than dinner.
Picture this: your 🧅 shallots are thriving in zone 6a, their tops turning golden and flopping over by late summer. That’s your cue—the perfect moment to dig before the bulbs split or rot. But timing isn’t the only trick; how you pull them matters just as much.
In this guide, I’ll walk you through the exact signs to watch for (yellowing leaves, firm bulbs, and that papery skin), the tools you’ll need, and how to cure and store your harvest so it stays fresh through winter. No more guessing—just flavor-packed shallots every time.
Whether you’re a first-time grower or a seasoned gardener, you’ll learn how to harvest without sacrificing next year’s crop, plus answers to the most common questions like, “Should I dig up all the bulbs at once?”
When to harvest shallots for maximum flavor and yield
Timing your shallot harvest correctly ensures the best flavor and yield. Unlike onions, shallots mature unevenly, so checking individual bulbs is key. The ideal harvest window falls between 105-120 days after planting, typically in late summer to early fall (August-October).
Missing this window risks overmature bulbs that split or develop hollow centers.
Climate plays a huge role—cooler regions may need to harvest earlier, while warmer zones can wait slightly longer. Early harvests (90-105 days) produce smaller, milder green shallots perfect for stir-fries, while late harvests yield larger bulbs with intense flavor but risk splitting if left too long. Balance is everything!
Here’s what to watch for in your garden:
| Harvest Stage | Visual Cues | Flavor Profile | Best For |
|---|---|---|---|
| Early Harvest (90-105 days) | Green tops, small bulbs (golf ball size), firm skin | Mild, sweet, grassy | Stir-fries, fresh salads |
| Peak Harvest (105-120 days) | Yellowing tops, dry papery skin, round bulbs | Bold, pungent, complex | Roasting, caramelizing, storage |
| Late Harvest (>120 days) | Brown crispy tops, bulbs may split, thin skin | Bitter, hollow centers | Avoid—use immediately |
The leaf color is your best indicator—when 50-70% of tops turn yellow and flop over, it’s time to harvest. For green shallots, pull them when bulbs reach 1-2 inches in diameter, even if leaves are still green. This early harvest prevents bolting and ensures tender shoots.
In hot climates, shallots mature faster, so check bulbs every 7-10 days starting at 90 days. In cooler regions, extend your timeline by 2-3 weeks—frost can damage bulbs, so harvest before first frost (typically November 1 in Zone 6a).
Never harvest based solely on days after planting—always verify with visual cues. Dig up a test bulb: if the skin is dry and papery and the bulb feels firm, it’s ready.
If it’s still soft or translucent, wait 3-5 more days. Overripe shallots lose flavor and storage potential.
Pro tip: Harvest on a dry, sunny day to speed curing. Use a fork or spade to loosen soil gently—never pull by the tops, which can damage next year’s crop. Shallots multiply underground, so handle with care to preserve future harvests.
For organic gardeners, avoid synthetic fertilizers in the final 4-6 weeks before harvest to prevent bitter flavors. Focus on even moisture—neither drought nor overwatering—during bulb development. A well-drained soil prevents rot and ensures sweet, flavorful shallots.
🌱 Remember: The earlier you harvest, the milder the flavor—but peak flavor comes at full maturity. Balance your needs: quick harvests for fresh eating vs. full maturity for storage and bold flavor. Your garden’s microclimate will dictate the perfect moment!
Step-by-step guide to harvesting shallots without damaging future crops
Harvesting shallots at the right time ensures maximum flavor and prevents damaging next year’s crop. Unlike onions, shallots multiply underground, so careful handling is key. The goal is to lift bulbs cleanly while leaving healthy roots for regrowth—here’s exactly how to do it.
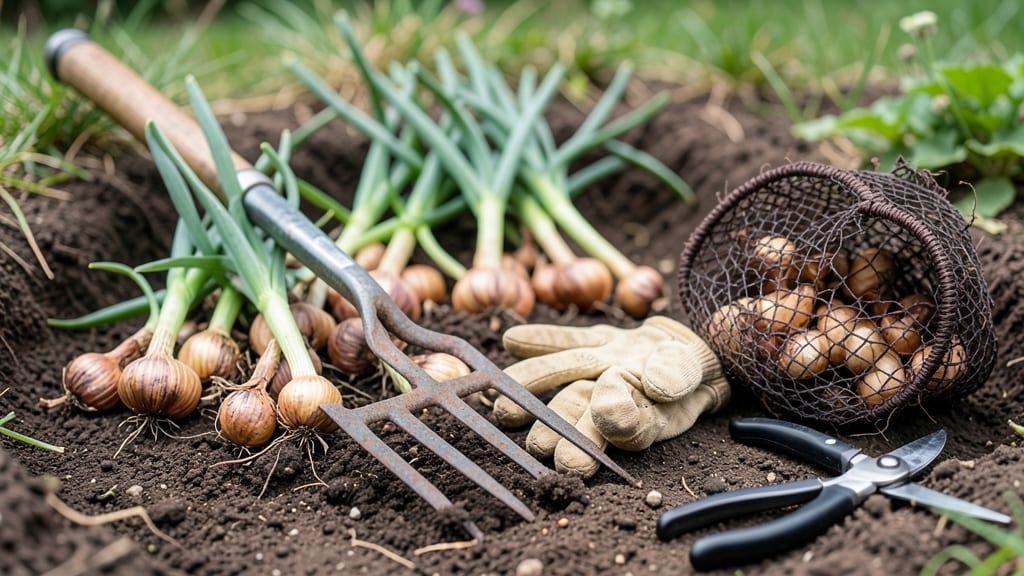
Before you begin, gather your tools: a sharp garden fork, pruning shears, a basket, and a soft cloth for cleaning. Work on a dry, sunny day when soil is slightly moist but not soggy. This ensures bulbs come out cleanly without breaking apart.
Step-by-Step Harvesting Process
- Step 1: Use a garden fork to loosen soil around the outer edges of the shallot bed. Insert the fork 6 inches deep and gently pry upward to avoid piercing bulbs.
- Step 2: Gently lift entire clumps from the soil, shaking off excess dirt. Avoid pulling individual bulbs to prevent root damage to next year’s crop.
- Step 3: Lay clumps on a clean tarp or mesh in full sun for 2–3 hours to air-dry. This prevents rot during storage.
- Step 4: Once dry, separate bulbs by hand or with pruning shears. Trim roots to 1 inch and tops to 2 inches to reduce moisture loss.
- Step 5: Cure shallots in a well-ventilated area (like a garage) for 1–2 weeks at 70–80°F. This toughens skins for long-term storage.
One of the biggest mistakes gardeners make is digging too early or overcrowding bulbs during harvest. If you harvest before tops yellow, bulbs won’t store well. Conversely, waiting too long risks splitting or rot. Aim for late summer to early fall when leaves turn crispy and brown.
After curing, store shallots in a cool, dark place (like a mesh bag in the fridge) for up to 6 months. Check periodically for soft spots—discard any bulbs that feel mushy. For organic gardeners, avoid chemical fungicides; instead, use neem oil if mold appears during storage.
Pro tip: Save the largest, healthiest bulbs to replant in early spring. Shallots multiply naturally, so a few well-chosen clumps can become a perennial crop with proper care. Just remember—never replant diseased or damaged bulbs to avoid spreading rot.
With these steps, you’ll harvest flavorful shallots year after year while keeping your garden thriving. Happy digging! 🧅