
How To
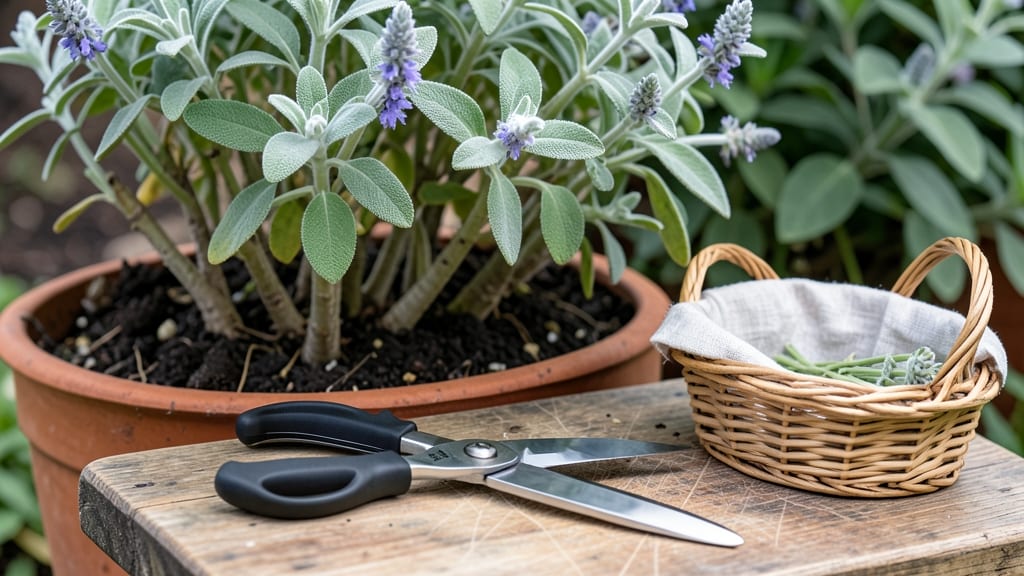
Harvesting garden sage at the right time ensures you get the most flavorful leaves without hurting your plant 🌿 — and the key is knowing when and how to do it.
Picture this: you’ve spent months nurturing your sage, only to snip leaves too early and end up with bitter-tasting herbs or a struggling plant. The good news? With the right timing and techniques, you can enjoy a bountiful harvest year after year.
In this guide, I’ll walk you through the three clear signs your sage is ready for harvesting, the best tools to use, and how to preserve your harvest for cooking all winter long.
Whether you’re drying bundles for winter soups or freezing leaves for pasta dishes, these steps will help you get the best flavor and yield from every harvest.
3 Clear signs your garden sage is ready for harvest (with visual cues)
Knowing when to harvest your garden sage ensures you get the most flavorful leaves without stressing the plant. Sage thrives when harvested at the right maturity stage, typically between 90-180 days after planting. The key is observing subtle visual cues that indicate optimal readiness—like leaf size, color, and stem development.
Harvesting too early can leave you with weak, flavorless leaves, while waiting too long risks letting the plant flower, which reduces potency. I’ve found that focusing on three clear signs makes all the difference in timing your harvest perfectly for both culinary and ornamental varieties.
3 Visual Cues Your Sage Is Ready to Harvest
-
1. Leaves Are Fully Developed & Aromatic
Mature sage leaves should be 1-2 inches long, gray-green, and emit a strong, earthy fragrance when crushed. If they smell faint or taste bland, wait a few more weeks—this is the #1 indicator of readiness. -
2. Plant Height Reaches 6-12 Inches
A healthy sage plant should stand at least 6 inches tall before harvesting. Look for woody stems with tender leaves—this balance ensures regrowth after cutting. Dwarf varieties may be ready at 4-6 inches. -
3. Flower Buds Are Just Starting to Form
Sage flowers signal the end of the prime harvesting window. If you spot small buds (but no open blooms), harvest immediately. Flowering diverts energy from leaf production, reducing flavor and yield.
Pro Tip: Harvest in the morning after dew has dried for the freshest, most potent leaves. 🌿
Once you spot these signs, act quickly—sage’s peak flavor window is short-lived. I like to harvest on a dry, sunny morning when essential oils are at their highest concentration.
Use sharp pruning shears or clean scissors to avoid damaging stems, and always cut just above a leaf node to encourage bushier growth.
Over-harvesting can weaken your plant, so never take more than one-third of the foliage at once. If your sage is young or leggy (a sign it’s not ready), focus on pruning for shape instead. This encourages denser growth and prepares the plant for future harvests.
Another trick I use is the "squeeze test": Gently pinch a leaf between your fingers. If it feels firm but not brittle and releases a strong aroma, it’s ready. Soft or mushy leaves mean it’s too young; woody stems with no aroma mean it’s past prime.
Season also plays a role—late summer to early fall (August–October) is ideal for most climates. In warmer zones (USDA 8+), you might get a second harvest in spring. Always avoid harvesting after the first frost, as cold stress reduces flavor and can harm the plant.
If you’re growing sage for ornamental purposes, the same rules apply, but you can be slightly more lenient with timing. Ornamental varieties often tolerate a few flowers without sacrificing too much foliage. Just remember: the earlier you harvest, the more vibrant and aromatic your sage will stay.
For culinary use, prioritize leaves over stems—you’ll use far more leaves for cooking. Save woody stems for making homemade brooms or decorative arrangements. And if you’re drying sage for later use, harvest on a sunny, wind-free day to preserve quality.
Finally, keep an eye out for pests or disease before harvesting. Yellowing leaves, spots, or chewed foliage mean your plant needs attention before you pick it. A healthy sage plant is your best guarantee of a flavorful harvest. ✂️
Step-by-step guide to harvesting sage leaves (best tools & techniques)
Harvesting garden sage at the right time ensures maximum flavor and healthy regrowth. The best time to harvest is in the late morning after the dew has dried but before the harsh afternoon sun.
This timing preserves essential oils that give sage its distinctive aroma. Always use clean, sharp tools to avoid damaging the plant or spreading disease.
Your harvesting tools play a crucial role in the process. I recommend using bypass pruners or sharp garden scissors for clean cuts. Avoid using dull tools, as they can tear leaves and invite pests.
For larger stems, a pruning saw works well. Sterilize your tools with rubbing alcohol before and after each use to prevent contamination.
-
Step 1: Choose the Right Time
Harvest late morning when essential oils are at peak concentration. Avoid harvesting after rain to prevent fungal issues. -
Step 2: Select Healthy Stems
Look for woody stems with mature leaves. Avoid cutting stems with flower buds, as this reduces flavor and encourages blooming. -
Step 3: Make Clean Cuts
Use sharp pruners to cut just above a leaf node. Never remove more than 1/3 of the plant in one session to avoid stress. -
Step 4: Harvest Leaves or Stems
For individual leaves, pinch them off gently. For whole stems, cut near the base to encourage bushier growth. -
Step 5: Encourage Regrowth
After harvesting, water the plant deeply and apply a light mulch to retain moisture and promote new growth.
When harvesting, focus on the outer leaves first, as they are more mature and flavorful. If you're harvesting whole stems, cut them at a 45-degree angle just above a leaf node.
This technique allows water to flow freely into the stem, reducing the risk of rot. Always leave at least 1/3 of the plant intact to ensure it can continue photosynthesizing and growing.
For optimal flavor, avoid harvesting sage during the first year of growth. Young plants need time to establish strong roots and develop robust stems. Once your sage plant is well-established and at least 12 inches tall, you can begin harvesting regularly.
This usually happens in the second year or after the plant has had a full growing season.
After harvesting, store your sage properly to maintain its freshness and potency. For immediate use, place the leaves in a paper towel-lined container in the fridge. If you plan to dry or freeze the sage, remove any damaged leaves and process them within 24 hours for the best results.
Proper storage extends the shelf life of your harvest and keeps the flavors vibrant for months.
Remember, consistent harvesting encourages a bushier, more productive plant. By following these steps, you'll enjoy a steady supply of fragrant sage all season long. Happy harvesting! 🌿✂️🌳