
Planting
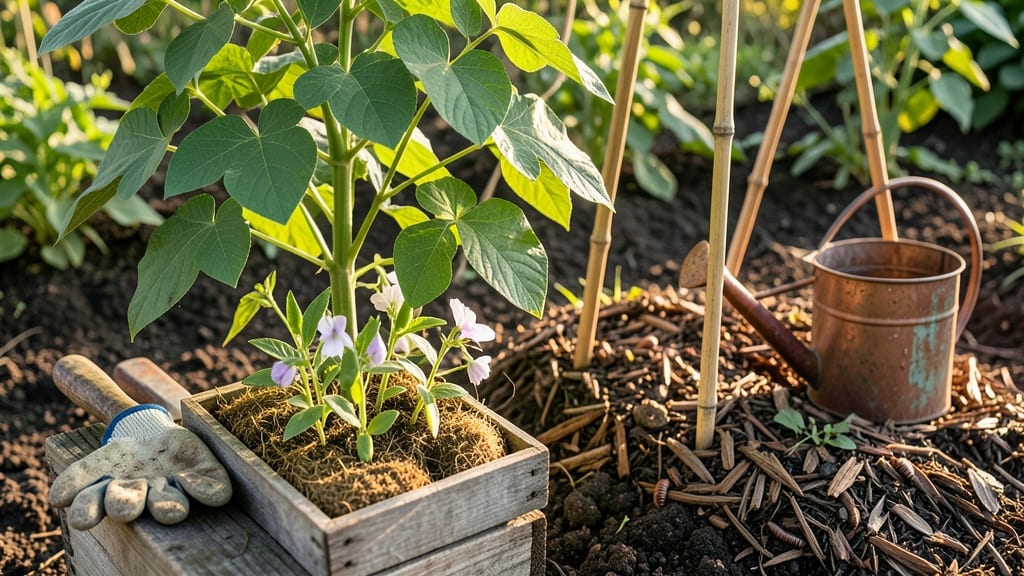
To plant string beans in a garden, start by sowing seeds 1 inch deep in well-drained soil after your last frost date—this small detail makes all the difference in germination speed.
Struggling to get your string beans to sprout quickly? The secret lies in mastering soil depth and planting techniques—small adjustments that can transform your garden's productivity overnight.
In USDA Zone 6a, aim for April or May planting when soil temperatures hit 60°F or warmer. Too shallow, and seeds dry out; too deep, and they rot before sprouting.
I’ll walk you through the exact spacing, sunlight needs, and watering schedule to ensure your beans emerge in just 7 days or less.
From soil prep to early care, you’ll learn how to avoid common mistakes—like overwatering or skipping companion plants—that can stall growth. Let’s get those string beans off to a fast start!

Perfect soil depth for planting string beans: germination science explained
If you've ever planted string beans only to wait weeks for sprouts, you're not alone. The soil depth where you place those tiny seeds makes all the difference.
String beans thrive when planted at the ideal depth of 1-2 inches, a range that balances moisture access with protection from drying winds. This depth ensures the seed stays hydrated while giving it just enough darkness to trigger germination.
Think of it like tucking a seed into a cozy blanket—just deep enough to feel secure but not buried under a mountain of soil.
Germination speed also hinges on soil temperature. String beans need soil that's warmed to at least 60°F (15°C)—any cooler, and your seeds may rot before sprouting.
Use a soil thermometer to check; if temperatures are too low, wait until the ground warms naturally or use black plastic mulch to absorb heat. I once planted beans in cool spring soil and waited three weeks for sprouts—until I realized the temperature was the real culprit.
A quick fix with mulch cut that wait time in half.
| Factor | Ideal Specification | Troubleshooting Tip |
|---|---|---|
| Planting Depth | 1-2 inches | Too deep = slow sprouts; too shallow = dry seeds |
| Soil Temperature | 60°F+ (15°C+) | Use black plastic mulch to warm soil faster |
| Moisture Level | Consistently damp | Water gently after planting; avoid puddles |
| Germination Time | 7-14 days | If no sprouts in 2 weeks, seeds may be old or soil too cold |
| Soil pH | 6.0-7.0 | Test soil; amend with lime (raise pH) or sulfur (lower pH) |
Moisture plays a critical role in germination speed. After planting, keep the soil consistently damp but never soggy. I recommend watering gently with a spray nozzle to avoid disturbing seeds, then covering with a thin layer of mulch to retain moisture.
Overwatering can suffocate seeds, while underwatering leaves them dry and brittle. Aim for soil that feels like a wrung-out sponge—moist but not dripping. If your garden soil drains too quickly, mix in compost or coconut coir to improve water retention.
Slow sprouts? Don’t panic—there’s usually a fix. First, check if your seeds are still viable by soaking a few in warm water overnight. If they sink, they’re good; if they float, they’re old. Next, verify soil temperature with a thermometer.
If it’s below 60°F (15°C), wait a few days or use a seedling heat mat. I once had beans take 21 days to sprout because I planted them in cool, damp soil. A simple fix with mulch and patience solved the problem.
Remember, string beans are resilient, but they need the right conditions to perform their best.
For best results, plant string beans in well-draining soil with a slightly acidic to neutral pH (6.0-7.0). If your soil is heavy clay, amend it with organic matter like compost or aged manure to improve aeration. Loose, crumbly soil allows roots to establish quickly, giving your seedlings a strong start.
I always test my soil pH before planting—it’s a small step that prevents headaches later. Use a simple soil test kit from your garden center to check, and adjust with lime or sulfur if needed.
Pro tip: Plant string beans in short rows rather than long ones. This makes it easier to monitor soil moisture and spot germination issues early. Stagger your planting by 1-2 weeks for a continuous harvest.
I plant my first row in early spring, then add two more rows every 10 days. This way, I always have fresh pods ready to pick. Plus, it’s a great way to extend your harvest season into early fall.
Just be sure to thin seedlings to 3-4 inches apart once they emerge to give each plant room to grow.
One common mistake is planting seeds too deeply, which can delay germination by weeks. If you bury string beans deeper than 2 inches, they may never sprout because they lack the energy to push through dense soil.
On the flip side, planting too shallow (less than 1 inch) exposes seeds to drying winds and uneven moisture. The 1-2 inch range is your sweet spot—deep enough for stability, shallow enough for quick access to moisture and light once they sprout.
To speed up germination, try soaking your seeds in warm water for 4-6 hours before planting. This softens the seed coat and jumpstarts the process. I’ve seen germination times drop from 14 days to just 7 days using this trick.
Just be sure to plant the soaked seeds immediately—they’ll start to sprout in the water if left too long. After planting, keep the soil warm and moist, and you’ll see those first tiny green shoots in no time. It’s like watching a tiny miracle unfold right before your eyes.
Finally, remember that string beans love warmth and sunlight. Choose a planting spot that gets at least 6-8 hours of direct sun daily. In cooler climates, use
Step-by-step planting process: from seed to sprout in 7 days
Planting string beans is simpler than you think, but the first 7 days determine whether your seeds will sprout strong and healthy. I’ve planted hundreds of beans over the years, and these small details—like soil temperature and watering consistency—make all the difference.
Follow this step-by-step guide to ensure your seeds germinate quickly and grow into thriving plants.
Before you begin, gather your tools and supplies: string bean seeds, a small hand trowel, compost or well-rotted manure, mulch, and a watering can with a gentle spray nozzle.
The right soil preparation and planting technique will set the stage for success. Let’s dive into the process, starting with soil that’s ready to welcome your seeds.
🌱 Step-by-Step Planting Guide for String Beans
-
Day 1: Prepare Your Soil
Choose a sunny spot with 6+ hours of sunlight. Loosen the soil to a depth of 12 inches using a garden fork. Mix in 2-3 inches of compost to enrich the soil with nutrients. Aim for a soil temperature of 60-85°F for optimal germination.
-
Day 2: Plant the Seeds
Plant your seeds 1 inch deep and 3-4 inches apart in rows spaced 18-24 inches apart. For bush varieties, reduce spacing to 4-6 inches. Gently press the soil around the seeds to ensure good contact, but avoid compacting it too tightly.
-
Day 3-5: Water Consistently
Keep the soil moist but not soggy. Water lightly every 1-2 days using a spray nozzle to avoid displacing the seeds. Aim for 1 inch of water per week, adjusting for rain. Mulch around the plants to retain moisture and suppress weeds.
-
Day 6-7: Monitor for Sprouts
Sprouts should appear in 7-10 days under ideal conditions. Once you see the first green shoots, thin the seedlings to 3-4 inches apart for bush varieties or 6-8 inches apart for pole beans. Remove weaker seedlings to give the remaining plants space to grow.
After the seeds sprout, it’s time to focus on support structures if you’re growing pole beans. Install trellises or stakes early to give the vines something to climb as they grow.
This not only saves space but also improves air circulation, reducing the risk of fungal diseases. I’ve found that pole beans produce 30% more yield when given proper support!
Throughout the first 7 days, watch for signs of overwatering or drought stress. Yellowing leaves or wilting can signal trouble, but don’t panic—adjust your watering schedule immediately.
String beans are resilient, but consistency is key. With the right care, you’ll see those first tiny green leaves breaking through the soil in no time.
Once your string beans have sprouted, the real fun begins! Keep an eye out for pests like Mexican bean beetles and use organic sprays if needed. In just a few weeks, you’ll be harvesting fresh, crisp pods straight from your garden.
The effort you put into those first 7 days will pay off with a bountiful harvest.