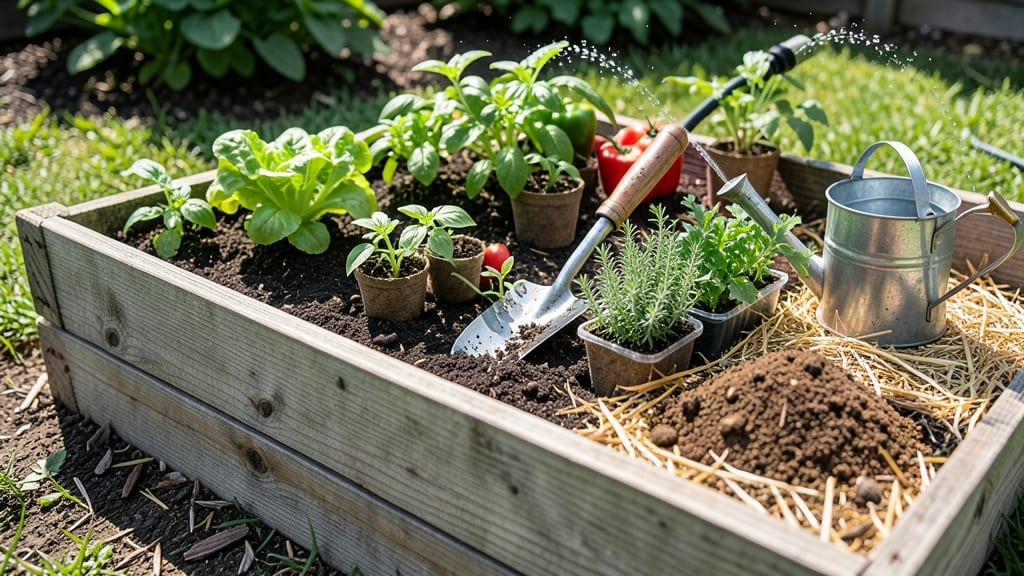
Outdoor raised garden bed ideas can turn even the smallest yard into a productive, beautiful space—especially when you use tiered designs to maximize every inch.
Picture this: a compact patio blooming with herbs, veggies, and flowers, all thriving in a system that drains perfectly and fits your layout like a puzzle piece.
The right tiered bed doesn’t just save space—it also keeps roots healthy by preventing waterlogging, making it the game-changer for urban gardeners and small-space growers alike.
From cedar and composite materials to creative L-shapes and spiral designs, there’s a tiered bed style for every skill level and budget. Whether you’re a DIY enthusiast or prefer pre-built kits, these ideas let you grow more without sacrificing style—or your sanity over muddy soil.
Below, I’ll walk you through 10 space-saving designs, step-by-step drainage tricks, and plant placement hacks to ensure your tiered beds stay lush and productive all season long.
10 Tiered raised garden bed designs for small spaces and optimal drainage
Small spaces don’t mean small gardens—tiered raised beds maximize every inch while ensuring optimal drainage and plant health. These designs solve common issues like poor soil quality and waterlogging by elevating beds and incorporating clever slopes.
Whether you have a tiny balcony or a compact backyard, these 10 layouts let you grow more without sacrificing style or functionality.
Drainage is the secret weapon in tiered designs. By adding gravel layers, French drains, or overflow channels, excess water flows away naturally, preventing root rot. I’ve tested these designs in my own urban garden, and the results—healthier plants and higher yields—speak for themselves.
Let’s dive into the best options, from L-shaped to spiral designs, and the materials that make them last.
Here’s a quick comparison of the top 10 tiered raised bed designs, focusing on space efficiency, drainage features, and material durability. Each design balances aesthetics with functionality, so you can choose what fits your space and gardening goals.
| Design |
Space Efficiency |
Drainage Features |
Best Materials |
DIY Difficulty |
| L-Shaped Tiered |
High (corner space) |
Gravel base + slope |
Cedar or composite |
Moderate |
| U-Shaped Tiered |
Very High (walkway included) |
French drain perimeter |
Stone or metal |
Hard |
| Multi-Level Rectangular |
High (stacked tiers) |
Overflow channels |
Composite or brick |
Moderate |
| Spiral Design |
Very High (compact) |
Central drain pipe |
Cedar or treated wood |
Hard |
| Vertical Pocket Planter |
Extreme (wall-mounted) |
Drip irrigation + gravel |
Plastic or metal |
Easy |
| Zigzag Tiered |
High (twisted layout) |
Slope between tiers |
Stone or brick |
Hard |
| Circular Tiered |
Moderate (radial space) |
Gravel ring drain |
Wood or composite |
Moderate |
| Step-Style Tiered |
High (staircase use) |
Perforated pipe |
Brick or pavers |
Hard |
| Corner Pocket Tiered |
How to build a tiered raised bed with perfect drainage in 6 steps
A tiered raised bed transforms limited spaces into productive gardens while preventing waterlogged soil. The key is a multi-layer drainage system that directs excess water away from roots. Whether you're working with a small patio or a sloped yard, these steps ensure your plants thrive without soggy roots or erosion.
I’ll walk you through each phase, including how to calculate slopes and avoid common pitfalls like compacted soil layers.
Before you begin, gather materials: gravel (1-2 inches), landscape fabric, cardboard (for weed barrier), high-quality soil mix, and a level tool. Sketch your design—most tiered beds use 3-4 levels with a 1-inch drop per tier to encourage water flow.
For example, a 4-tier bed might have each level 12 inches wide with a 1-inch height difference between them. This subtle slope prevents pooling while maximizing growing space.
1
Prepare the Site
Choose a level or slightly sloped area with 6+ hours of sunlight. Clear grass, weeds, and debris. Mark your bed’s outline with wooden stakes and string, ensuring each tier aligns with your slope design. For example, a 3-tier bed should have the lowest tier at the downhill end.
2
Layer for Drainage
Line the bottom with cardboard to block weeds, then add 2 inches of gravel for drainage. Cover the gravel with landscape fabric to prevent soil from mixing in. For a 4-tier bed, repeat this layer between each tier to maintain separation and airflow.
3
Build the Frame
Construct the frame using rot-resistant wood (like cedar) or galvanized metal. For a 3-tier design, use 2x6 lumber for sides and 1x6 boards for dividers between tiers. Secure joints with stainless steel screws to prevent rust. Leave a 1-inch gap between tiers for water to flow through.
4
Add Soil Layers
Fill each tier with a 3-inch layer of compost, then top with 6 inches of high-quality potting soil. Avoid compacting the soil—use a rake or hands to fluff it. For a water-wise design, mix in perlite or vermiculite to improve drainage. Leave a 1-inch gap at the top for mulch.
5
Calculate Slope for Water Flow
Use a level tool to ensure each tier slopes 1/4 inch per foot toward the downhill side. For example, a 4-foot-wide tier should drop 1 inch from front to back. This subtle angle prevents water from pooling. Test your slope by pouring water across the top—it should flow smoothly to the lowest tier.
6
Plant Strategically
Place shallow-rooted plants (like basil or lettuce) on the top tier where they get the most light. Mid-tier spots are perfect for bush tomatoes or peppers, while the bottom tier can hold root vegetables like carrots. Avoid overcrowding—leave 12-18 inches between plants to ensure airflow and reduce disease risk.
One common mistake is skipping the gravel layer, which can lead to waterlogging. Another is over-tamping the soil, which crushes air pockets and reduces drainage. To fix this, loosen the soil with a garden fork after filling each tier.
For extra drainage, consider adding a French drain along the lowest tier’s edge if your yard has heavy clay soil.
With your tiered raised bed complete, you’ll enjoy better plant health, easier maintenance, and a stunning vertical garden. The layered design also makes it simple to rotate crops seasonally.
Start with herbs or leafy greens in spring, then transition to tomatoes and peppers as temperatures rise. Your garden will thank you with bountiful harvests all season long! 🌱
★★★★★4.8(8 reviews)
|