
Picking
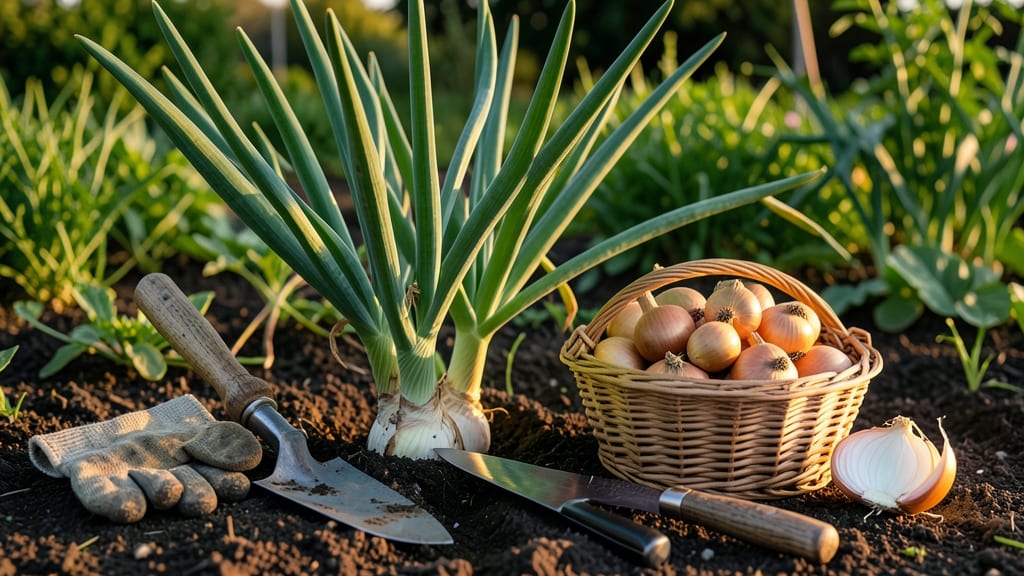
Harvesting onions from the garden at the right time ensures sweet, flavorful bulbs instead of bitter, tough ones — and skipping that window means watching them bolt before you even taste them.
Picture this: you’ve nurtured your 🧅 plants all season, only to pull them too early and end up with tiny, sharp onions, or wait too long and find them sprouting flowers instead of storing well. The difference between success and frustration comes down to three simple visual cues.
Most gardeners in Zone 6a should start checking their onions in late summer, around 100-120 days after planting, when the tops yellow and flop over. But timing varies by variety — short-day onions (like Texas Grano) mature earlier, while long-day types (like Yellow Sweet Spanish) need that full growing season.
Below, I’ll walk you through the exact signs to look for, how to harvest without damaging the bulbs, and what happens if you miss the window. By the end, you’ll know exactly when to pull your onions for the best flavor and storage life.
3 Clear visual signs your onions are ready for harvest
Harvesting onions at the perfect moment transforms your garden into a treasure trove of flavorful bulbs. But timing is everything—wait too long, and your onions may bolt or rot; harvest too early, and you'll end up with small, pungent bulbs.
The key lies in these three unmistakable visual cues that signal your onions are ready to pull. I’ve learned these signs through years of trial and error, and they’ll save you from the heartache of wasted harvests.
First, let’s address the most common mistake: assuming all onions mature at the same time. Green onions and storage onions have different readiness signs, so pay attention to the variety you’re growing. For this guide, we’ll focus on storage onions, which make up the bulk of home garden harvests.
If you’re growing green onions, you’ll want to harvest them much earlier—when they reach about 6-8 inches tall—but that’s a topic for another day.
Here’s where things get exciting. When your onions hit peak maturity, they’ll show you in three clear ways: their leaf color shifts, the bulb size reaches ideal proportions, and the neck between bulb and leaves shrinks dramatically.
These signs work together like a symphony, each playing its part to tell you it’s time to harvest. Let’s break them down so you never miss the moment again.
🌱 3 Visual Signs Your Onions Are Ready for Harvest
- 1. Tops Turn Yellow and Flop Over
Look for straw-colored or brown tops that fall over naturally. This indicates the plant is redirecting energy to the bulb, not the leaves. - 2. Bulbs Reach 2-3 Inches in Diameter
Gently dig around the base—if the bulb is firm and round, it’s ready. Smaller bulbs (under 1.5 inches) won’t store well. - 3. Neck Shrinks to ½ Inch or Less
The stem connecting the bulb to the leaves will tighten and dry out. This is your final green light to harvest!
Let’s dive deeper into the first sign: the leaf color change. When your onion tops start turning from vibrant green to a straw yellow or tan, it’s a clear signal that the bulb has matured.
I remember my first year growing onions—I ignored this sign and waited too long, only to find my bulbs had sprouted flowers! That’s when I learned to trust the color shift. Pay close attention to the outermost leaves first; they’ll yellow before the inner ones.
Next, focus on the bulb size and firmness. A mature onion bulb should feel solid and dry when you gently squeeze it. If it’s still soft or rubbery, it needs more time.
To check without damaging the plant, use your fingers to dig around the base—if the bulb is 1.5 to 3 inches wide, it’s ready. Smaller bulbs (like those under 1 inch) are often called scallions and are best harvested young for greens.
The third sign—the shrinking neck—is often overlooked but is one of the most reliable indicators. The stem connecting the bulb to the leaves will dry out and tighten to about ½ inch or less.
This happens because the plant is pulling nutrients from the leaves into the bulb. If you see this, act fast—onions left in the ground too long after this stage can rot or sprout.
Here’s a pro tip: harvest on a dry, sunny day. This allows the bulbs to dry properly in the field, which is crucial for storage. If rain is forecasted, harvest early and let them dry indoors.
I once harvested a batch before a storm and ended up with moldy onions—never again! Always prioritize proper drying to extend shelf life.
Regional differences can affect timing slightly. In cooler climates (Zones 3-5), onions may mature earlier in the season, while in warmer zones (Zones 7-10), they might take longer.
Keep an eye on your local frost dates—if your onions are ready but frost is coming, harvest and store them indoors. I’ve had success overwintering onions in my garage when early frosts threatened.
One final warning: never harvest onions when the tops are still green and upright. This is a classic mistake that leads to small, pungent bulbs. The green tops indicate the plant is still growing, and the bulb hasn’t fully developed.
Trust the visual cues we’ve covered—they’re your onions’ way of telling you they’re ready for the next step in their journey, whether that’s your kitchen or long-term storage.
Now that you know the signs, you’re ready to harvest like a pro. Next, we’ll cover the step-by-step process of pulling, drying, and curing onions to keep them fresh all season.
But for now, keep an eye on those tops—they’re about to give you the green light (or should I say, yellow and brown light?) to harvest! 🧅
How to harvest onions without damaging the bulbs (Step-by-Step guide)
Once your onions show those unmistakable signs of readiness, it's time to harvest with care. The key to preserving flavor and storage life lies in how you handle them from the moment they leave the soil.
A gentle approach prevents bruising and keeps those sweet, pungent notes intact. I've learned that rushing this process can turn your harvest into a bitter disappointment—so let's do this right.
Start by gathering your essential tools: a sharp garden fork or spade, a basket for collecting, and a clean work surface for drying. Avoid using anything that could puncture the bulbs, like a serrated knife.
The goal is to remove the onions cleanly while leaving the roots intact for proper curing. Timing matters too—harvest on a dry, sunny day to give them the best chance to dry naturally.
Step-by-Step Harvesting Process
- 🌱 Step 1: Choose the Right Time
Harvest in the morning after the dew has dried but before the midday heat. This reduces stress on the plants and prevents the bulbs from sweating. - 🪣 Step 2: Loosen the Soil
Use a garden fork to gently loosen the soil around the onion bulbs, working about 3-4 inches deep. This helps prevent damage to the roots and makes removal easier. - ✂️ Step 3: Lift the Onions
Grasp the onion tops and lift them straight up from the soil. Avoid pulling or twisting, which can bruise the bulbs. Let the roots stay attached—this helps with curing. - 🧅 Step 4: Remove Excess Soil
Shake off loose soil or gently brush it away with your hands. Don’t wash the onions yet—moisture can promote rot during curing. - ☀️ Step 5: Cure the Onions
Lay the onions in a single layer on a mesh screen, wooden rack, or clean wooden pallet. Place them in a dry, shaded area with good airflow for 2-3 weeks. - 🌡️ Step 6: Check for Dryness
After 2-3 weeks, the skins should be completely dry and papery. The necks should shrink and the bulbs should feel firm. Store them in a cool, dry place with good ventilation.
During the curing process, it's crucial to maintain airflow. I once tried curing onions in a closed box, and within days, mold started to grow. The bulbs need to dry slowly and evenly, which only happens with proper ventilation.
If you're in a humid climate, consider using a fan on low to circulate air gently around the onions.
Once fully cured, trim the roots and tops to about 1 inch from the bulb. This reduces moisture loss and prevents the onions from sprouting prematurely. Store them in a mesh bag or cardboard box in a cool, dark place with temperatures between 40-50°F.
Properly stored onions can last for months, retaining their flavor and crisp texture.
If you notice any bulbs softening or developing mold during storage, remove them immediately to prevent spoilage from spreading. A little vigilance goes a long way in preserving your harvest. With these steps, you'll enjoy homegrown onions that taste fresher and sweeter than anything from the store.