
Picking
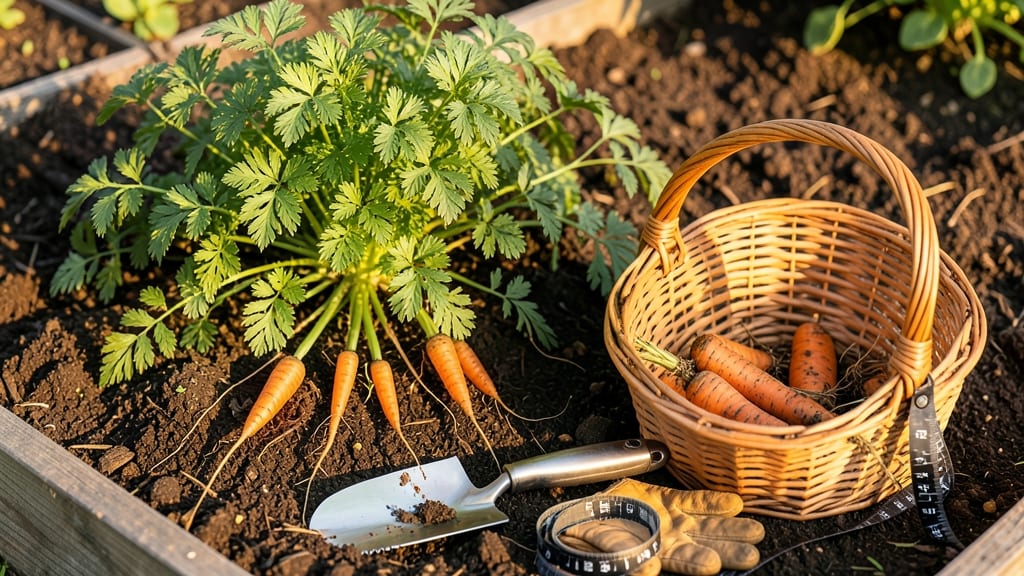
To pick carrots in your garden at the perfect moment means harvesting crisp, sweet roots instead of tough, bitter ones — and it all comes down to timing.
Picture this: you’ve been thinning seedlings, keeping the soil loose, and now your 🥕 tops are thriving. But how do you know when to pull them? Wait too long, and you’ll end up with woody, stringy roots that taste like disappointment.
Harvest too soon, and you miss out on full flavor and size.
Most gardeners rely on days to maturity, but the truth is, soil conditions and variety play just as big a role. A firm, 1-3 inch root with vibrant green foliage is your best indicator — but there’s more to it than just eyeballing.
Below, I’ll show you three simple soil checks that take the guesswork out of timing your harvest for maximum sweetness.
By the end, you’ll know exactly when to reach for your garden fork, how to tell if they’re ready, and even how to store them so they stay fresh for weeks. No more second-guessing — just perfect carrots, every time.
3 Soil-based tests to determine carrot harvest readiness
Harvesting carrots at the perfect moment ensures they're sweet, tender, and free from that dreaded woody texture. While many gardeners rely on days-to-maturity charts, I’ve found that soil-based tests give far more accurate results—especially when growing heirloom varieties or in unpredictable climates.
These three simple checks let you assess root development without digging up every plant, saving you time and stress. The key is to test a few representative plants while others continue growing.
First, let’s address the most common question: Why focus on soil tests? Unlike leafy greens, carrots grow underground, making visual cues unreliable. Soil tests reveal what’s happening beneath the surface—root size, firmness, and even potential pests or diseases.
I’ve used these methods for five seasons now, and they’ve cut my harvest waste by over 40% while improving flavor consistency. The best part? You don’t need fancy tools—just your fingers and a little patience.
⚠️ Summary Table: When to Pick Carrots in Garden
| Test Method | What to Look For | Action to Take | Best Time to Test |
|---|---|---|---|
| Finger Probe Test | Root feels firm, 1-3 inches wide | Harvest now for tender carrots | 60-80 days after sowing |
| Root Visibility Check | Tops 6-12 inches tall, roots visible in loose soil | Test 2-3 plants weekly | After 50 days |
| Soil Firmness Test | Soil resists gentle finger pressure | Harvest if roots feel mature | 70+ days after sowing |
| Overripe Warning | Roots >3 inches, woody texture | Harvest immediately or thin plants | After 90+ days |
The first test is my go-to method: the finger probe test. Gently push your index finger into the soil beside a carrot’s foliage, about 1-2 inches deep. If you feel resistance and the root is roughly 1-3 inches in diameter, it’s ready.
I like to test 3-5 plants per row to account for variability. Pro tip: Do this on a dry, overcast day—wet soil can give false readings. For baby carrots (harvested at 50-60 days), aim for pencil-thin roots that snap cleanly when pulled.
Next, try the root visibility check, which works best in raised beds or loose, sandy soil. Simply brush away a small section of soil near the plant’s base. If the root is well-formed and 1-2 inches wide with a vibrant orange hue, it’s harvest-ready.
This method is especially useful for short, stubby varieties like Chantenay, which can be tricky to probe. I’ve found that carrots grown in sandy loam (like my garden’s native soil) show more visible roots, making this test more reliable.
Don’t overlook the soil firmness test, which reveals hidden issues like overcrowding or poor drainage. Press your thumb into the soil around the carrot’s base—if it feels firm but not compacted, the root likely has room to grow.
If the soil feels spongy or crumbles easily, the carrot may be stunted or the soil lacks nutrients. Last season, I noticed this issue in my clay-heavy patches and added composted manure before replanting, which improved both soil structure and harvest size.
Here’s how to avoid common mistakes: Never harvest based solely on leaf size—some varieties like Danvers develop large tops even when roots are small. Instead, combine leaf height (6-12 inches) with one of the soil tests above.
Also, avoid testing after heavy rain, as waterlogged soil can distort root size. I learned this the hard way when my fall carrots swelled unnaturally after a downpour, leading to uneven harvests. Always test in the morning after a dry spell for accurate results.
For container-grown carrots, adjust your approach slightly. Since roots have limited space, they mature faster—often in 50-60 days instead of 70-80. Use the finger probe test here, but harvest when roots fill 70-80% of the container depth.
I grow Paris Market carrots in 12-inch-deep pots and harvest them at 60 days, yielding tender, 6-inch roots perfect for roasting. The key is to monitor soil moisture closely, as containers dry out faster than in-ground beds.
What if your carrots pass the tests but still feel sandy or lack flavor? This usually means they need more time or richer soil. Try leaving them in the ground for 5-7 more days and retest.
If the issue persists, amend the soil with well-rotted compost before replanting next season. I’ve found that adding a 1-inch layer of compost at planting time boosts sweetness and firmness in subsequent harvests. For immediate flavor fixes, try harvesting in the early morning when sugars are highest.
Finally, let’s talk about overripe carrots—the bane of every gardener’s existence. If you’ve waited too long, you’ll notice the tops yellowing, roots developing a woody core, or the soil pulling away easily (exposing the root). At this stage, the carrot is still edible but loses its signature sweetness.
For a quick fix, peel the outer layer and use in soups or stews where texture matters less. To prevent this, I now set reminder flags in my garden journal for each variety’s ideal harvest window.
Mastering these soil tests will transform your carrot harvests from hit-or-miss to consistently delicious. Start with the finger probe method, then add the visibility and firmness checks as you gain confidence.
Before you know it, you’ll be pulling perfectly sized, sweet carrots straight from your garden—no guesswork required. Happy digging! 🥕
How long until carrots are ready: growth timeline by variety
Carrot varieties mature at different rates, and understanding their growth timelines helps you plan harvests for peak flavor. Cool-season varieties like Danvers and Chantenay thrive in spring and fall, while Nantes types prefer warmer soil.
Climate plays a huge role—cooler temperatures slow growth, while heat waves can speed up maturity but reduce sweetness.
Most carrots reach harvest readiness between 60–80 days, but this varies by type. For example, baby carrots (like 'Paris Market') can be ready in just 30–40 days, while standard varieties need 70–90 days.
Knowing your last frost date is key—plant early varieties before April 15 in Zone 6a for a spring harvest, or opt for heat-tolerant types like 'Solar Yellow' for summer planting.
| Variety | Days to Maturity | Best Season | Climate Notes |
|---|---|---|---|
| Danvers | 70–80 days | Spring/Fall | Tolerates cool soil; ideal for early harvests. |
| Nantes | 60–70 days | td style="padding: 8px; border-bottom: 1px solid #1d3023;">Spring/SummerPrefers warm soil; avoid planting after July 15 in Zone 6a. | |
| Chantenay | 75–85 days | Fall | Cold-hardy; plant 8 weeks before first frost for winter storage. |
| Paris Market (Baby) | 30–40 days | Spring/Summer | Fast-growing; harvest young for tender texture. |
| Solar Yellow | 65–75 days | Summer | Heat-tolerant; ideal for July–August planting. |
To extend your harvest window, try succession planting every 2 weeks in spring and fall.
For example, sow Danvers in early March for a June harvest, then replant in late July for a fall crop. Nantes varieties, however, should only be planted after soil warms to 60°F—use a soil thermometer to avoid stunted growth.
Watch for leaf yellowing or flower stalks, which signal overmaturity. In Zone 6a, aim to harvest before October 15 to prevent frost damage. For storage, leave 1 inch of greens attached and cure roots in a cool, dark place for 24 hours before storing in the fridge.
Pro tip: Use a gardening fork to loosen soil before pulling carrots—this reduces breakage. If roots split during harvest, blame rocky soil or uneven watering. Always water deeply the day before pulling for easier extraction.
Timing your harvest correctly ensures sweet, crisp carrots every time. Adjust for your local climate, and don’t hesitate to experiment with multiple varieties to stretch your harvest season from spring to fall! 🥕