
Picking
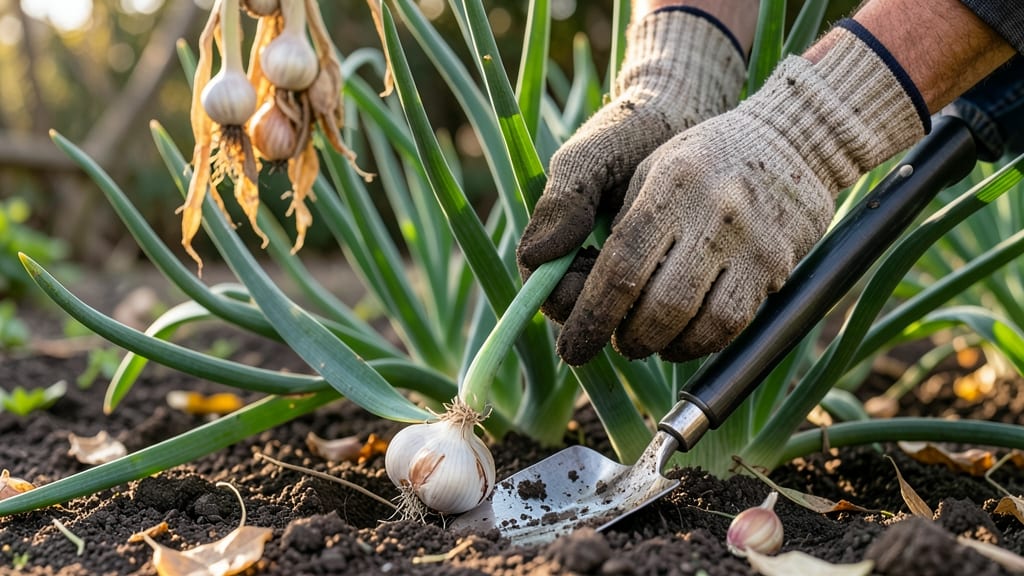
To pick garlic from the garden at the perfect time means waiting until the lower leaves turn brown and crispy while the top ones stay green — a balance that determines whether your bulbs store well or turn to mush.
Knowing the exact moment to harvest garlic can mean the difference between plump, flavorful bulbs and shriveled, pungent cloves. One week too early, and you’re left with soft, underdeveloped cloves that won’t keep. One week late, and your garlic splits or rots in the soil.
Here’s what to watch for: the lower leaves should dry out completely, while the top leaves remain vibrant. A gentle squeeze of the bulb should feel firm, not squishy. Miss these cues, and you risk wasting months of effort.
In this guide, I’ll walk you through the visual and tactile signs of readiness, regional timing tips, and how to cure and store your harvest so it lasts all winter. No more guesswork — just perfect garlic every time.
How to tell when garlic leaves are ready to die back
Harvesting garlic at the right time transforms your garden into a treasure trove of flavorful bulbs. The key lies in observing your plants' leaf color and browning patterns—these visual cues reveal whether your garlic is ready for harvest or still needs time to mature.
Ignoring these signs often leads to shriveled cloves or weak flavor, so let's break down the foolproof method.
Start by focusing on the lower leaves of your garlic plants. When they begin turning brown and crispy, this signals the start of the harvest window.
However, don't rush to dig up your entire crop just yet—wait until about 50% of the leaves have browned while the upper leaves remain green. This balance ensures your bulbs are fully developed but haven't started to deteriorate.
| Stage | Leaf Condition | Bulb Condition | Action |
|---|---|---|---|
| Early Growth | All leaves green and healthy | Soft, developing bulbs | Do nothing |
| Harvest Window | Lower leaves brown and crispy, upper leaves still green | Firm bulbs with tight necks | Harvest soon |
| Overripe | All leaves brown and dying back | Loose, shriveled bulbs | Harvest immediately |
| Too Early | All leaves still green | Soft, underdeveloped bulbs | Wait 2-3 weeks |
If you harvest garlic too early, you'll end up with small, weak bulbs that lack the robust flavor and storage potential of fully mature garlic. These bulbs often have loose skins and may even sprout prematurely if stored.
On the other hand, leaving garlic in the ground too long causes the bulbs to split open or develop soft, pungent cloves that spoil quickly.
Pay close attention to the neck of the bulb, the area where the leaves meet the soil. When this neck begins to shrink and tighten, it's a clear sign that the bulb is nearing maturity.
This is nature's way of signaling that the cloves are firming up and preparing for harvest. If you notice the neck becoming loose again, your garlic has passed its prime and should be harvested immediately to avoid quality loss.
Regional differences can slightly alter the timing of garlic harvest. In cooler climates, like USDA Zone 5 or 6, garlic typically matures later, often in late June or early July.
Meanwhile, in warmer zones, such as Zone 7 or higher, you might see garlic ready for harvest as early as mid-June. Always adjust your expectations based on your local last frost date and typical growing season length.
One common mistake gardeners make is assuming that all leaves must be brown before harvesting. While it's true that the lower leaves will eventually die back, the top leaves should remain green until just before harvest.
These green leaves continue to photosynthesize, feeding energy to the bulbs below. Once they start turning brown, your garlic is likely overripe and past its peak flavor and storage potential.
To test your garlic's readiness without digging up the entire plant, gently squeeze a bulb through the soil. A fully mature bulb will feel solid and firm, almost like a small rock.
If it feels soft or spongy, it's not ready yet. This simple firmness test can save you from harvesting too early and ending up with disappointing results.
Once you've confirmed your garlic is ready, harvest on a dry, sunny day to allow the bulbs to cure properly. Use a garden fork to gently loosen the soil around the plants, then lift them carefully to avoid damaging the bulbs.
After harvesting, let the garlic dry in the sun for a few hours before bringing it indoors to cure completely.
Remember, the perfect harvest window is brief, so stay vigilant and act quickly once you notice the lower leaves browning. With practice, you'll develop an eye for spotting the ideal moment to harvest garlic, ensuring you always enjoy the best possible flavor and quality from your garden.
The clove firmness test: how to check garlic bulb ripeness before harvesting
When your garlic's lower leaves start turning brown, it's time for the clove firmness test—a foolproof way to confirm ripeness. This simple method prevents harvesting too early (small bulbs) or too late (shriveled cloves). I’ll show you exactly how to perform it without damaging your entire crop.
Start by selecting one healthy garlic plant from the outer edges of your bed. Gently dig around the base with a small trowel, lifting the bulb carefully to expose the roots and cloves. This non-destructive test gives you the confidence to wait or harvest the rest of your crop.
Look for these three key signs of ripeness: firm cloves, thick papery skins, and shriveled roots. If your test bulb passes, your entire garlic patch is likely ready. If not, give it another 1-2 weeks before retesting.
⚠️ Warning: Harvesting Too Late Damages Quality
Overripe garlic bulbs split open and lose flavor. If your test clove has soft spots or the neck is hollow, harvest immediately. Rain or extreme heat can also trigger premature ripening—monitor your crop closely during these conditions.
To test firmness, gently squeeze a clove between your thumb and forefinger. A ripe clove should feel solid and dense, not mushy or hollow-sounding. The skin should peel back easily in one piece, revealing tightly packed layers—a sign of optimal storage potential.
Check the root system next. Ripe garlic roots will be shriveled and brown, while underripe roots stay plump and white. This root shrinkage signals the plant is redirecting energy to bulb development, ensuring maximum flavor and size.
Once your test bulb passes, harvest your entire garlic patch on a dry, sunny day. Use a fork to loosen soil around the base, then lift gently. Let bulbs cure in a shady, well-ventilated area for 2-4 weeks before storing—this step preserves their freshness for months.
Pro tip: Label your garlic varieties if you grow multiple types. Some, like hardneck varieties, ripen earlier than softneck types, so test each separately for consistent results.