
Picking
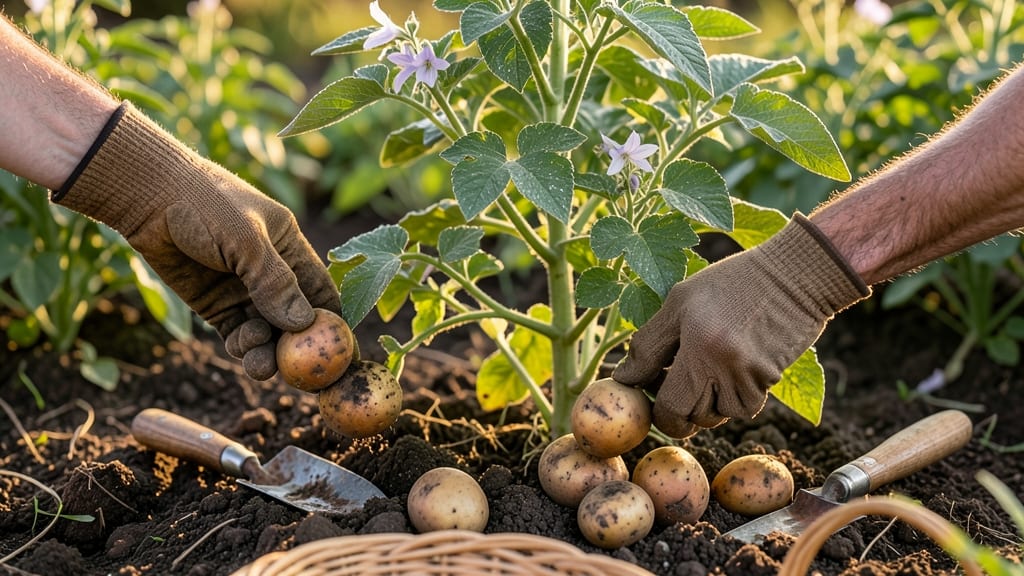
To pick potatoes from the garden at the perfect time means digging up tubers when they’re fully mature but still firm and flavorful—before they turn mealy or rot.
Harvesting potatoes at the wrong time can mean wasted effort—or even spoiled tubers. Knowing when to dig up your potatoes ensures a bountiful, flavorful yield, but most gardeners miss the key signs hidden in the leaves.
Think about it: those yellowing, crispy foliage signals it’s time to act, but soil temperature and tuber size also play a role. One wrong move, and you could end up with shrunken, starchy potatoes that lack the sweetness of a well-timed harvest.
In this guide, I’ll walk you through the leaf test tricks and soil checks that guarantee a perfect harvest, plus how to store them for maximum flavor and shelf life—no guesswork required.
How to use the potato leaf test to determine perfect harvest time
Harvesting potatoes at the wrong time can mean wasted effort—or even spoiled tubers. The potato leaf test is my go-to method for determining when those underground treasures are ready. Instead of guessing based on days after planting, I focus on the foliage signals that reveal maturity.
These visual cues work for all varieties, from Yukon Golds to Russets, and help avoid common mistakes like digging too early or too late.
Most gardeners overlook the leaves when checking for harvest readiness, but they hold the clearest indicators of tuber development. The color change from vibrant green to yellow or brown isn't just about aging—it signals that the plant is redirecting energy to the tubers.
I've learned that ignoring these signs often leads to either small, underdeveloped potatoes or oversized ones that crack when stored. The key is understanding the progressive wilting patterns and how they correlate with tuber maturity.
Before diving into the leaf test, let's clarify what we're looking for: three main signals—color shifts, wilting progression, and overall plant health. Early signs appear 4-6 weeks before full maturity, while late-stage indicators are unmistakable.
For example, new potatoes (harvested young) show only partial yellowing, while storage potatoes require full leaf senescence. The test works best when combined with gentle soil probing to confirm tuber size.
Step-by-Step Potato Leaf Test
- 1 Observe leaf color: Start by checking the oldest leaves at the plant base. Look for yellowing or browning (senescence) that spreads upward over 1-2 weeks. Healthy green leaves mean tubers aren't ready yet.
- 2 Check wilting patterns: Gently tug on stems to test for easy detachment. If 50% of leaves wilt and pull off cleanly, tubers are near maturity. Resistant stems indicate they need more time.
- 3 Assess plant health: Look for no new growth and dry, crispy leaves. Healthy plants with green tops still producing flowers aren't ready. For early varieties, partial wilting may signal readiness.
- 4 Confirm with soil probe: Use a trowel or stick to gently dig near the plant base. If tubers are golf-ball sized (new potatoes) or larger (storage), they're ready. Smaller tubers mean wait 2-3 more weeks.
- 5 Time your harvest: Dig on a cloudy day to prevent tuber exposure to sunlight (which turns them green). Cure harvested potatoes in a dark, humid place for 5-10 days before storage.
One of the most common mistakes I see is waiting until the entire plant dies back before harvesting. By then, the tubers may have sprouted or cracked from overmaturity. The leaf test helps you act just before full senescence, when tubers are at peak quality.
For early varieties like 'Red Pontiac,' you might harvest when only the bottom 30% of leaves have yellowed, while late varieties like 'Russet Burbank' need 80-90% leaf drop.
Regional climate plays a crucial role in timing. In cooler zones (USDA 3-5), I harvest 2-3 weeks earlier than in warmer zones (USDA 7-9) because shorter growing seasons demand faster maturity.
For example, in Zone 5, I start testing leaves in early August, while in Zone 9, I wait until mid-October. Always adjust for your last frost date—potatoes won't mature in cold soil.
Don't forget to consider your harvest goals. If you're growing for immediate eating, smaller tubers (harvested when 20-30% of leaves are yellow) are ideal. For long-term storage, wait until 70-80% of leaves have wilted and the remaining foliage looks dry and papery.
I've found that storage potatoes benefit from a final leaf drop before digging, as this ensures full starch conversion.
For organic gardeners, the leaf test is especially valuable because it reduces the need for chemical ripening agents. Instead of relying on synthetic hormones, I trust the plant's natural signals.
If you notice blackened stems or moldy leaves, this could indicate blight, and you should harvest immediately—even if the tubers aren't fully mature—to prevent spread. Always prioritize plant health over perfect timing in disease-prone conditions.
Pro tip: Keep a harvest journal to track leaf changes and tuber sizes year after year. Note the exact date when leaves first yellow and when you harvest. Over time, you'll recognize the unique patterns of your specific potato varieties and climate.
For instance, my Yukon Golds always show golden-yellow leaves before Russets turn brown—this consistency helps me plan better.
Remember, the
Early vs. late harvest timing: when to dig for new vs. storage potatoes
Timing your potato harvest is everything—dig too early, and you’ll get small, underdeveloped tubers. Wait too long, and your potatoes may become tough or even rot in the ground.
The key difference lies in whether you're harvesting new potatoes (young, tender) or storage potatoes (fully mature). Each requires distinct conditions and signals for the best results.
For new potatoes, timing is all about size and tenderness. These baby potatoes are ready when they reach about 1-2 inches in diameter, typically 50-60 days after planting. The plant’s foliage will still be vibrant, and you’ll spot tiny tubers forming just below the soil surface.
This early harvest gives you a delicate, waxy texture perfect for salads or roasting.
Storage potatoes, on the other hand, need more time to develop thick skins and starchy, long-lasting flavor. Aim for a harvest when the plant’s foliage starts to yellow and die back, usually 90-120 days after planting.
The tubers should be 3-5 inches in diameter with firm, papery skins. These are the potatoes that’ll keep well in a cool, dark place for months.
| Factor | New Potatoes | Storage Potatoes |
|---|---|---|
| Harvest Time | 50-60 days after planting | 90-120 days after planting |
| Tuber Size | 1-2 inches in diameter | 3-5 inches in diameter |
| Foliage Condition | Green and healthy | Yellowing and dying back |
| Soil Conditions | Moist but well-drained | Dry soil (stop watering 1-2 weeks before harvest) |
| Flavor & Texture | Waxy, tender, mild | Starchy, firm, rich |
| Storage Life | 1-2 weeks in fridge | 3-6 months in cool, dark place |
Seasonal timing also plays a crucial role. In cooler climates, aim to harvest new potatoes in early to mid-summer when soil temperatures are mild. For storage potatoes, wait until late summer or early fall when nights grow cooler.
In warmer regions, you might need to adjust timing slightly—new potatoes can be harvested as early as April or May, while storage potatoes may need to wait until September or October.
One trick I swear by is the soil temperature check. For new potatoes, dig when soil temps are between 60-70°F. For storage potatoes, wait until soil cools to 50-60°F—this helps thicken the skins and prevents rot.
Always harvest on a dry, sunny day to let the soil dry out slightly, making it easier to dig without damaging the tubers.
After harvesting, handle each type differently. New potatoes should be used immediately or stored in the fridge for short-term freshness. Storage potatoes need to cure in the dark for 1-2 weeks at 50-60°F to toughen their skins.
Avoid washing them until you’re ready to use them—moisture speeds up spoilage. With the right timing, you’ll enjoy potatoes that are either deliciously tender or perfectly preserved for months ahead. 🌱