
Tools
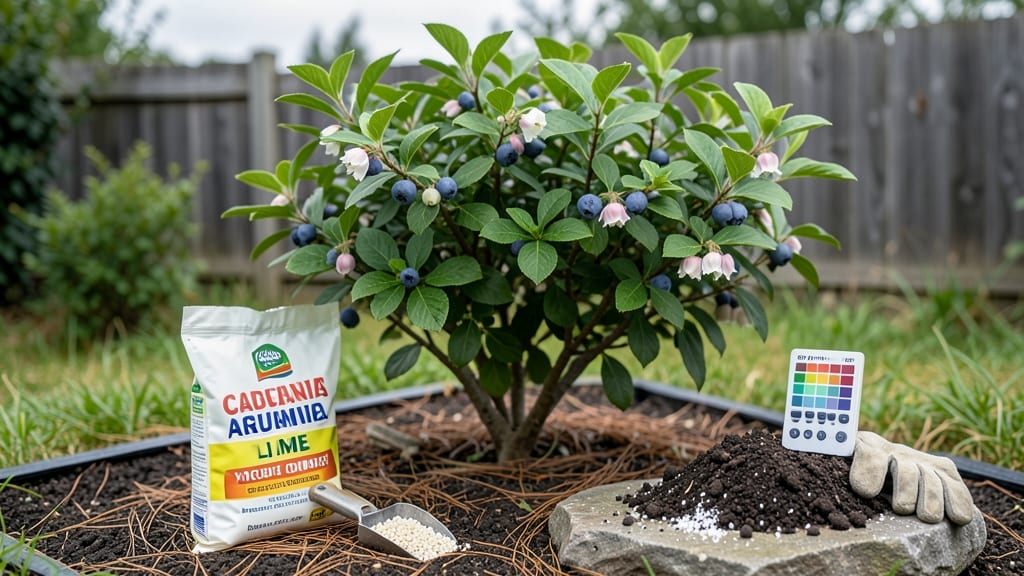
Putting lime in your garden at the right time can transform your soil from acidic and hostile to balanced and thriving 🌱 — and the best window is often overlooked.
Struggling with yellowing leaves, stunted growth, or struggling acid-loving plants? Your soil might be too acidic—and lime could be the game-changer you’ve been missing. But timing is everything: apply it too early, and you’ll waste your effort; too late, and your plants won’t benefit until next season.
Most gardeners swear by fall application, about 6–8 weeks before planting, when the soil is still warm enough to work but cool enough to prevent lime from leaching away too quickly.
In colder climates like USDA Zone 6a, this means late September or early October—just before the first frost sets in.
Here’s the secret: test your soil first to know exactly how much lime you need, then follow a simple routine to keep your garden’s pH in check year after year. We’ll cover everything—from when to test to how much to use—so you never guess again.
Best times to apply lime for optimal soil pH balance
If your soil pH is too acidic, adding garden lime can transform your yard from a struggling plot to a thriving ecosystem. But timing matters—apply lime at the wrong time, and you might waste money or even harm your plants.
The key is understanding when your soil needs adjustment and how your local climate influences the best schedule.
Most gardeners swear by fall application because it gives lime time to work through the soil before spring planting. However, spring application can also work in warmer climates where winter rains don’t wash lime away.
Let’s break down the best times to apply lime, how often to test your soil, and why climate plays such a critical role in success.
For most gardeners in temperate climates, fall is the gold standard for lime application. Aim to spread lime 6–8 weeks before the first frost, giving it time to dissolve and adjust your soil’s pH before spring planting.
This timing ensures your vegetables, flowers, and lawn start the season with balanced soil.
If you’re in a warmer climate (like Zone 8 or higher), spring application works better because winter rains can wash lime away before it has a chance to work. Test your soil in early spring, apply lime, and plant within 4–6 weeks for the best results.
Climate isn’t the only factor—soil type matters too. Sandy soils need lime more frequently because it washes out faster, while clay soils hold lime longer. If you’re unsure, conduct a soil test every 2–3 years to monitor pH changes and adjust your lime schedule accordingly.
One common mistake is assuming lime works immediately. In reality, it can take 2–3 months to fully adjust soil pH. That’s why fall application is so effective—it gives lime time to integrate before the growing season begins.
If you’re in a hurry, consider pelletized lime, which dissolves faster than powdered forms.
Pro tip: Mix lime into the top 6 inches of soil using a garden fork or tiller. Avoid surface application, as rain can wash it away before it has a chance to work.
For lawns, use a spreader for even distribution, and water lightly afterward to help it settle into the soil.
Remember, lime isn’t a one-time fix. Most soils benefit from annual or biennial applications, especially if you’re growing acid-loving plants like blueberries or azaleas. Over time, organic matter and rainfall can lower pH again, so stay proactive with testing and adjustments.
By choosing the right season and understanding your local climate, you’ll maximize lime’s effectiveness and give your garden the balanced pH it needs to thrive. Happy gardening! 🌱
How to test and adjust soil pH before adding lime
Before reaching for that bag of garden lime, you need to know your soil’s pH level. Testing your soil is the first step to avoiding over-liming or under-correcting acidic soil.
Most vegetables and flowers thrive in a slightly acidic to neutral pH between 6.0 and 7.0, while acid-loving plants like azaleas and blueberries prefer 4.5 to 5.5. Without testing, you might guess wrong and harm your garden instead of helping it.
I’ve tested my soil every 2–3 years and always before planting new crops. It’s a simple process that takes less than 10 minutes and saves you from costly mistakes. Start by collecting samples from multiple spots in your garden—about 6–8 inches deep—to get an accurate reading.
Mix them together in a clean bucket, then follow the steps below to test and adjust.
- 1 Collect soil samples from 5–10 spots, avoiding surface litter. Mix 1 cup of soil from each spot in a clean container.
- 2 Use a pH test kit (digital or liquid test strips). Follow the kit’s instructions to moisten the soil and measure the pH. Most kits include a color chart for easy reading.
- 3 Record your pH level. If it’s below 6.0, your soil is too acidic. Note the exact number—this helps calculate the right lime dosage.
- 4 Calculate lime needed. Use the formula: Pounds of lime = (Desired pH – Current pH) × Soil Volume (in cubic yards) × 20. Example: For 100 sq ft of soil (about 0.25 cubic yards) with a pH of 5.5 and a goal of 6.5, you’d need 2.5 lbs of lime.
- 5 Apply lime evenly using a spreader or broadcast method. Water the soil lightly to help lime integrate, then wait 2–4 months before retesting.
If your soil tests above 7.0, it’s alkaline, and lime won’t help—you’ll need sulfur instead. For most home gardens, pelletized lime is easiest to handle and spreads evenly.
Just remember: less is more. Overdoing it can make your soil too alkaline, which is just as harmful as being too acidic.
Retest your soil 6–8 weeks after applying lime to confirm the adjustment. This gives you a chance to fine-tune if needed. I’ve found that fall application (6–8 weeks before planting) gives lime enough time to work into the soil naturally over winter.
For acid-loving plants, you might need to reapply lime annually to maintain the right pH.
Don’t let guesswork ruin your garden’s health. A little testing and patience go a long way in creating the perfect growing conditions for your plants. Happy gardening! 🌱