
Fertilization
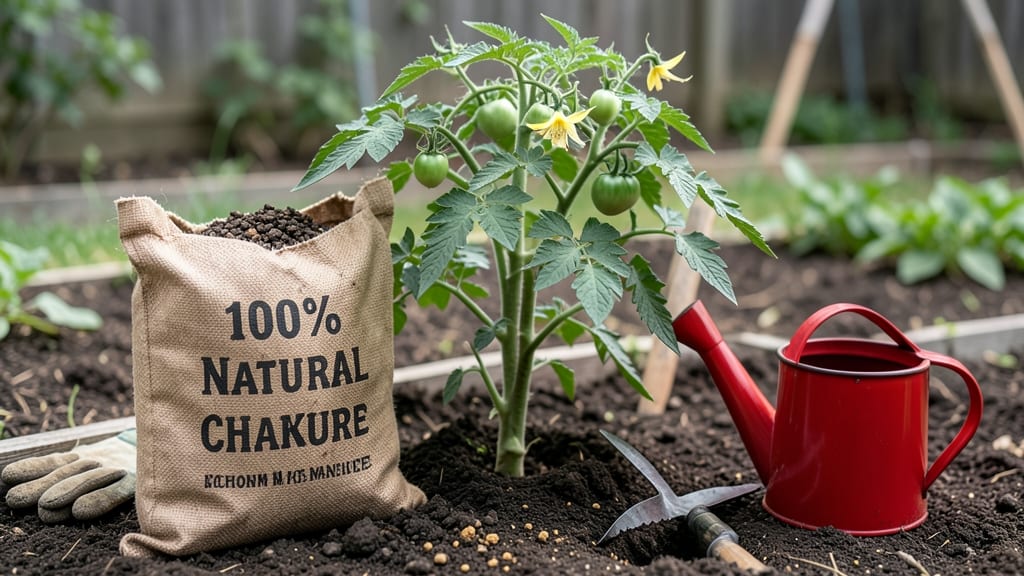
Using chicken fertilizer for gardens unlocks a natural, nutrient-rich boost that turns lackluster soil into a thriving ecosystem for your plants.
Picture this: your tomatoes are wilting despite regular watering, your leafy greens are pale, and you’re tired of spending money on synthetic fertilizers that promise big results but often fall short.
That’s where aged chicken manure comes in—packed with nitrogen, it’s the secret weapon for gardeners who want lush, vibrant growth without the guesswork.
But here’s the catch: fresh chicken manure can burn plants and attract pests, so timing and preparation matter. In this guide, you’ll learn how to safely compost, dilute, and apply it for maximum benefits, whether you’re growing vegetables, flowers, or even lawns.
We’ll also compare it to other organic fertilizers so you can pick the best fit for your garden’s needs.
From step-by-step composting tips to troubleshooting common issues, you’ll walk away with everything you need to transform your garden into a high-yielding powerhouse—naturally.

How to make homemade chicken fertilizer: step-by-step composting guide
If you've ever wondered how to turn chicken manure into a nutrient-rich fertilizer for your garden, you're in the right place. Chicken fertilizer is one of the most powerful organic amendments you can make, packed with nitrogen that promotes lush foliage and vigorous growth.
The key lies in proper composting—balancing fresh manure with carbon-rich bedding and additives to create a safe, effective soil booster.
Unlike fresh manure, which can burn plants, properly aged chicken fertilizer delivers a slow-release nutrient punch. My first compost pile transformed my garden's soil structure, and I've never looked back. Let's break down the exact steps to create this homemade gold for your plants.
Before you begin, gather your materials: chicken manure (fresh or semi-aged), straw or wood shavings (for bedding), garden soil or compost (for bulk), and a shovel or pitchfork. Safety first—always wear gloves when handling raw manure to avoid pathogens.
With these basics, you're ready to create a fertilizer that will make your tomatoes and leafy greens thrive.
🐔 Step-by-Step Chicken Fertilizer Composting Guide
-
Step 1: Source Fresh Chicken Manure
Collect dry, fresh manure from a trusted source (avoid wet or runny droppings). Look for bedding materials like straw or pine shavings—these add carbon to balance the nitrogen. -
Step 2: Mix with Carbon-Rich Bedding
Combine 1 part manure with 2-3 parts bedding (straw, wood shavings, or dry leaves). This ratio prevents odor and ensures proper decomposition. -
Step 3: Add Bulking Agents
Stir in garden soil or compost (1 part) to introduce microbes and improve aeration. Avoid heavy clays—they can compact the pile. -
Step 4: Build a Compost Pile
Layer materials in a 3x3x3-foot pile (or use a bin). Keep it moist like a damp sponge—too dry, and decomposition stalls; too wet, and it smells. -
Step 5: Turn Weekly for 3-6 Months
Use a shovel to turn the pile every 1-2 weeks. This speeds up decomposition and ensures even aging. Aim for a dark, crumbly texture by month 3. -
Step 6: Test for Readiness
When the pile cools to room temperature and smells earthy (not ammonia-like), it’s ready. For maximum safety, age it 6+ months before garden use. -
Step 7: Apply to Your Garden
Spread 1-2 cups per 10 sq ft around plants or mix into soil. Water lightly to activate nutrients. Avoid direct contact with plant stems to prevent burns.
Timing is everything when it comes to chicken fertilizer. Fresh manure can scorch plant roots, but properly aged compost releases nutrients gradually, feeding your garden for weeks. I’ve found that spring and fall are the best times to apply it—just before planting or when plants need a boost.
For container gardens, use a 1:10 ratio of fertilizer to potting mix to avoid overloading roots.
Safety is non-negotiable when working with raw manure. Always wear gloves and a mask while handling fresh droppings, as they can contain Salmonella or E. coli. Composting kills most pathogens, but aging the fertilizer for at least 3-6 months adds an extra layer of protection.
If you’re unsure about the source of your manure, opt for commercially processed chicken manure, which is heat-treated and safer for immediate use.
One common mistake gardeners make is rushing the composting process. Patience pays off—aged chicken fertilizer not only feeds your plants but also improves soil structure and microbial activity. My tomato plants went from struggling to producing bushels after just one season of using this method.
The difference in growth is staggering, and the best part? It’s free and chemical-free.
For those with limited space, consider a small-scale compost bin or even a worm bin to break down chicken manure. Worms accelerate the process and produce even richer "worm castings" that can be mixed with your compost.
Just ensure the bin has proper ventilation and drainage to keep things balanced. If you’re dealing with a large quantity of manure, a 3-bin system lets you rotate materials efficiently.
Finally, don’t toss out the compost tea made from leftover liquid during the composting process! Strain it through a fine mesh and dilute it with water (1:10 ratio) to create a nutrient-rich foliar spray.
This liquid gold is perfect for giving your plants a quick nutrient boost, especially during their growth spurts. Just be sure to apply it in the early morning or evening to avoid burning leaves in the sun.
With these steps, you’ll have a homemade chicken fertilizer that rivals anything you can buy—plus, it’s tailored to your garden’s specific needs. Happy composting, and watch your plants flourish like never before! 🌱
Chicken manure fertilizer benefits vs. risks: what gardeners need to know
Chicken manure fertilizer stands out as one of the most powerful organic amendments for gardeners. With its high nitrogen content (2-4-1 NPK ratio), it fuels rapid leafy growth in vegetables, flowers, and lawns.
My backyard tomatoes nearly doubled in yield last season after incorporating aged chicken manure into their beds. The real magic happens when you understand how to harness its benefits while avoiding common pitfalls.
Beyond nitrogen, this fertilizer improves soil structure and microbial activity. The organic matter breaks down slowly, creating crumbly, water-retentive soil perfect for root development. I've seen struggling clay soils transform into loose, fertile beds after just one season of regular applications.
However, these advantages come with critical considerations that every gardener must address before digging in.
Chicken Manure Fertilizer: Pros & Cons
✅ PROS
- High nitrogen boosts leafy growth
- Improves soil structure and drainage
- Enhances microbial activity naturally
- Affordable and readily available
- Doubles as compost activator
❌ CONS
- Fresh manure can burn plant roots
- May contain pathogens or weeds
- Strong ammonia odor when fresh
- Requires proper aging (3-6 months)
- Attracts flies and pests if not managed
The biggest risk with chicken manure is over-application of fresh material. I learned this lesson my first year when my basil plants turned crispy at the edges after I spread fresh manure directly on the soil.
Always age manure for 3-6 months before using it, or compost it thoroughly to neutralize pathogens and ammonia. For immediate use, mix it into the soil at least 2-3 months before planting.
To mitigate pathogen concerns, I now double-bag fresh manure and let it compost in a pile with carbon-rich materials like straw or leaves. This process not only kills harmful bacteria but also creates a more balanced fertilizer.
For container gardens, I dilute aged chicken manure with compost or peat moss (1:3 ratio) to prevent nutrient overload in small root zones.
Another common mistake is applying too much at once. A general rule is 1-2 cups per 10 sq ft for established plants, or 1 lb per 100 sq ft for garden beds. I always water the area thoroughly after application to help distribute nutrients evenly and reduce odor.
For sensitive plants like onions or brassicas, I reduce the amount by half to avoid excessive nitrogen that can lead to leafy growth at the expense of harvestable parts.
When used correctly, chicken manure fertilizer becomes an invaluable tool in any gardener's arsenal. The key lies in proper aging, dilution, and timing.
My current setup includes a dedicated compost bin for chicken manure mixed with wood chips and garden waste, producing a rich, crumbly fertilizer ready for spring planting. With these precautions, you'll unlock its full potential while keeping your plants healthy and thriving.