
Container Gardens
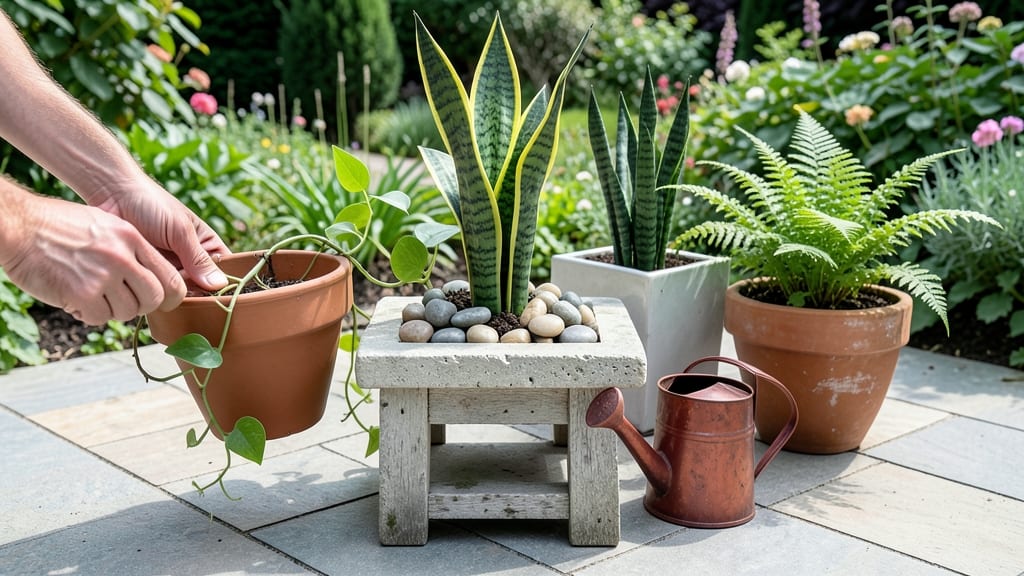
Using clay garden pots 🏺 can elevate your container garden—but only if you pick the right heat-resistant style to prevent cracking and breakage.
Picture this: You’ve spent hours arranging your favorite herbs in beautiful terracotta, only to watch them shatter under the midday sun. The wrong pot material turns a dream garden into a cracked disaster, and that’s why choosing the right clay—unglazed, glazed, or rustic—makes all the difference.
These pots aren’t just about looks; their porous nature wicks moisture while regulating temperature, making them ideal for everything from drought-tolerant succulents to thirsty citrus trees. But not all clay holds up under heat, which is why we’re diving into five heat-resistant styles that stay intact season after season.
From terracotta’s classic charm to stoneware’s durability, you’ll learn how to match your pots to your plants—and keep them looking (and performing) flawlessly for years.
5 Heat-resistant clay pot styles that won’t crack under sunlight
If you’ve ever watched your favorite clay pots develop unsightly cracks under the blazing sun, you’re not alone. The good news? Some clay pot styles are engineered to handle extreme heat while maintaining their structural integrity.
These heat-resistant clay pots wick moisture efficiently, regulate root zone temperatures, and pair perfectly with sun-loving plants like succulents and citrus trees. Let’s explore the top five styles that won’t let you down in scorching conditions.
Not all clay pots are created equal. Traditional unglazed terracotta is porous and breathable but can crack if exposed to rapid temperature shifts. That’s why modern heat-resistant designs incorporate glazing, thicker walls, or specialized clay blends.
Whether you’re growing herbs on a sunny patio or tropical plants in a greenhouse, the right pot style can mean the difference between thriving greenery and a cracked ceramic disaster.
Here’s a detailed comparison of the best heat-resistant clay pot styles—including their moisture-wicking properties, durability, and ideal plant pairings—to help you make an informed choice for your garden.
Now that you’ve seen the breakdown, let
How to season and maintain clay pots for long-term use
Clay pots are beautiful but notoriously fragile—especially when exposed to rapid temperature changes or freezing conditions. To extend their lifespan, proper seasoning and maintenance is key.
Whether you're using brand-new terracotta or repurposing old pots, these steps will help prevent cracks and keep your containers looking their best for years.
Before using any clay pot for the first time, it’s crucial to season them. This process strengthens the pot’s structure and reduces the risk of heat shock when exposed to sunlight or cold.
Skipping this step can lead to unsightly cracks that ruin your pot’s appearance—and your plants’ roots.
-
Step 1: Preheat Your Oven
Place the clean, empty clay pot on the middle rack of your oven. Preheat to 200°F (93°C) for 30 minutes to remove moisture and stabilize the material. -
Step 2: Gradual Temperature Increase
Turn off the oven and let the pot cool inside for 1 hour. Then, reheat to 300°F (150°C) for another 30 minutes. Repeat this process up to 500°F (260°C) in 50°F increments to avoid thermal shock. -
Step 3: Seal Minor Cracks (DIY Fix)
For hairline cracks, mix 1 part white vinegar with 1 part water. Brush the solution into cracks, let dry, then seal with waterproof caulk designed for outdoor use. -
Step 4: Acclimate to Outdoor Conditions
Place the seasoned pot outside in a shady spot for 24 hours before adding soil. This helps prevent sudden temperature swings that cause cracks. -
Step 5: Winterize for Freeze Protection
Before the first frost, empty the pot and store it in a dry, sheltered location (like a garage). Wrap it in bubble wrap or place it near a heat source if temperatures drop below 20°F (-7°C).
Once your pots are seasoned, prevent heat shock by avoiding extreme temperature fluctuations. For example, never move a pot from a hot sunbath directly into a freezing garage.
Instead, let it acclimate indoors for a few hours first. This simple habit can save your pots from splitting during seasonal changes.
For ongoing maintenance, inspect your clay pots regularly for new cracks or wear. If you notice small fissures, clean them with a vinegar-water solution (1:1 ratio) to remove mineral buildup, then reseal with outdoor caulk.
Avoid using superglue or epoxy, as these can trap moisture and weaken the pot over time.
With proper care, your clay pots will last for years, adding rustic charm to your garden while protecting your plants. The key is patience—seasoning takes time, but the payoff is pots that stay intact through every season. Happy gardening! 🏺