
Tools
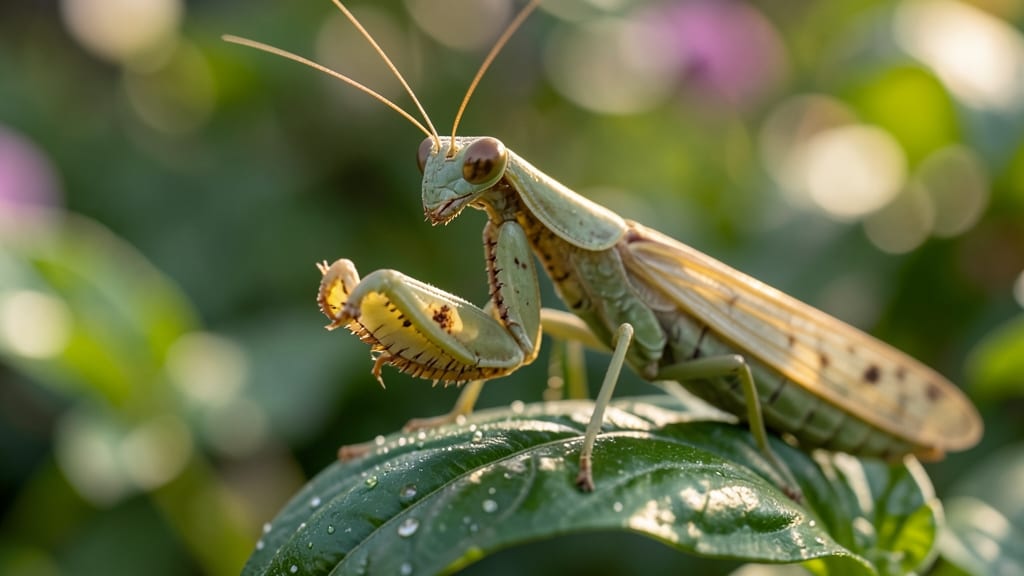
Keeping bugs out of your vegetable garden without chemicals is easier than you think—especially when you use the right physical barriers.
Pests can turn your thriving 🥬 garden into a buffet overnight, but harmful sprays aren’t the only answer. The key is smart, natural defenses that work before bugs even get close.
From lightweight row covers to simple collars around stems, these barriers block aphids, slugs, and cabbage worms without a single chemical. Plus, they’re reusable, budget-friendly, and safe for kids and pets.
Below, I’ll show you the top 5 barriers that work instantly, how to install them for maximum protection, and when to pair them with other organic methods for a pest-proof harvest.
Top 5 physical barriers to stop common garden bugs instantly
If you’ve ever watched your tomatoes or cabbage disappear overnight, you know how devastating garden pests can be. The good news? You don’t need chemical pesticides to save your harvest. Physical barriers create a natural shield that keeps bugs out while letting your plants thrive.
These solutions are eco-friendly, cost-effective, and work immediately—no waiting for sprays to dry or harming beneficial insects.
From floating row covers to collapsible netting, each barrier targets specific pests like cabbage worms, aphids, or slugs. Below, I’ll break down the top 5 barriers, how to install them, and which pests they stop dead in their tracks.
No more losing your hard work to hungry critters!
| Barrier Type | Target Pests | Best For | DIY Setup | Cost (Approx.) |
|---|---|---|---|---|
| Floating Row Covers | Cabbage worms, aphids, flea beetles | Leafy greens, broccoli, cabbage | Stake hoops, drape fabric, secure edges | $15–$30 |
| Fine Mesh Netting | Squash bugs, tomato hornworms, beetles | Vining plants, cucumbers, peppers | Wrap around plants or use trellis | $10–$25 |
| Collars (Cardboard/Egg Cartons) | Cutworms, slugs, wireworms | Seedlings, carrots, onions | Cut 2" rings, bury around stems | $0–$5 (repurposed) |
| Chicken Wire Fences | Rabbits, deer, squirrels | Entire garden beds, asparagus patches | Bend wire into 2-ft tall hoops, bury 6" | $20–$40 |
| Straw Mulch | Slugs, earwigs, soil-dwelling grubs | Low-growing plants, lettuce, radishes | Spread 3–4" layer around plants | $5–$15 (bulk bags) |
My favorite barrier for cabbage and kale is floating row covers—they’re lightweight, breathable, and stop cabbage worms from munching your plants in half. Simply drape the fabric over hoops or stakes and secure the edges with rocks or clips.
For tomatoes and peppers, I swear by fine mesh netting—it’s tough enough to deter even the hungriest hornworms.
If you’re dealing with cutworms (the sneaky nighttime chewers), cardboard collars are a game-changer. Cut rings from egg cartons or toilet paper rolls, then slip them around young seedlings.
The worms can’t crawl over the barrier, and your carrots or onions stay safe. Plus, it’s a zero-cost solution using items you already have at home!
For larger pests like rabbits or deer, a chicken wire fence is your best bet. Bend the wire into 2-foot hoops, then bury the bottom 6 inches to prevent digging.
This works wonders for protecting asparagus beds or tender new shoots. Just be sure to remove the fence once your plants are established to avoid damaging roots.
Don’t overlook mulch as a barrier! A thick layer of straw or grass clippings keeps slugs and earwigs away from low-growing plants like lettuce
How to install physical barriers for maximum pest protection
Installing physical barriers is one of the most effective ways to protect your vegetable garden from pests without relying on chemicals. The key to success lies in proper timing, selecting the right materials, and avoiding common installation mistakes.
I’ve learned through trial and error that a well-placed barrier can save your harvest from caterpillars, slugs, and even deer—if you do it right.
Timing is everything when it comes to barriers. For most pests, installing barriers before planting or at the first sign of pest activity ensures maximum protection. For example, row covers should go on early in the season to stop cabbage worms and flea beetles before they lay eggs.
Meanwhile, collars for seedlings should be in place as soon as you transplant to block cutworms.
Choosing the right materials can make or break your pest defense. Lightweight floating row covers work well for flying insects, while sturdy hardware cloth is best for slugs and rabbits. For delicate plants like lettuce or spinach, fine mesh netting (with holes smaller than 1/4 inch) is ideal.
Avoid cheap plastic that tears easily—it’s not worth the risk of pests slipping through.
- Step 1: Clear the area of weeds and debris to create a clean workspace. This prevents pests from hiding near your plants.
- Step 2: Measure your garden beds and cut barriers to size. For row covers, add 6-12 inches of extra fabric to secure edges tightly.
- Step 3: Install stakes or hoops along the perimeter of your garden. Space them every 3-4 feet to support the barrier evenly.
- Step 4: Secure the barrier with clips, staples, or weights. For floating row covers, use brass fasteners to avoid damaging the fabric.
- Step 5: Leave enough slack for plants to grow. For tall crops like corn or tomatoes, use adjustable hoops or roll up excess fabric as plants grow.
- Step 6: Monitor for gaps or tears weekly. Repair any damage immediately to maintain effectiveness.
Avoid these common mistakes that can compromise your barriers: using barriers that are too large (they’ll flap in the wind and create gaps), securing them too tightly (which can damage young plants), or forgetting to remove them during pollination (like for cucumbers or squash).
I once left row covers on too long and ended up with stunted tomato flowers—lesson learned!
For long-term effectiveness, combine barriers with other pest control methods. For example, use mulch around the base of plants to deter slugs while keeping row covers in place for flying pests.
Regularly inspect your barriers for wear and replace them every 2-3 years, as UV rays weaken fabric over time. With the right setup, you’ll enjoy a pest-free harvest without sacrificing plant health.
Remember, the goal is to create a multi-layered defense that works with nature, not against it. Start with barriers, and you’ll spend less time battling pests and more time enjoying your garden’s bounty. Happy gardening!