Tools
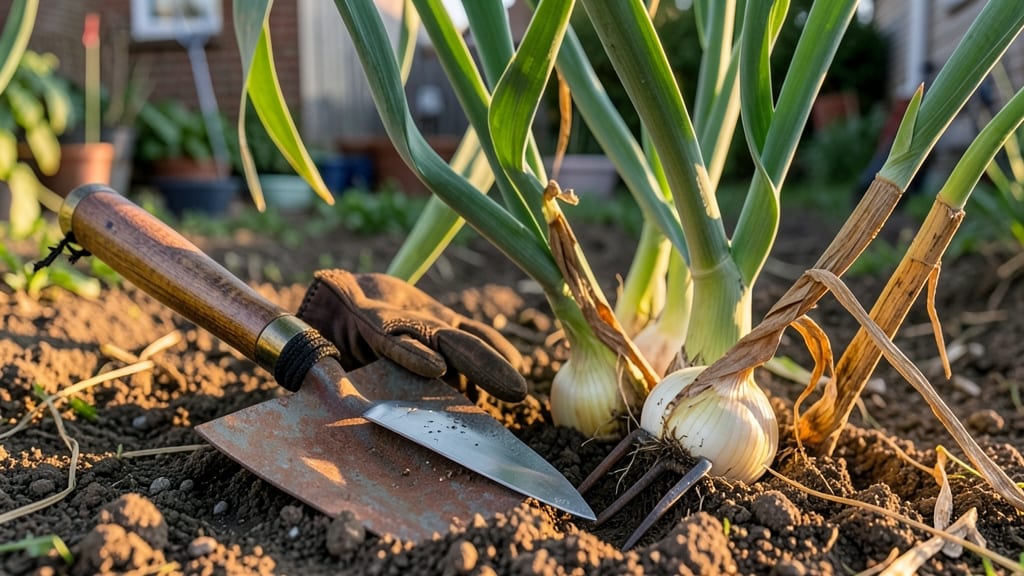
Pull onions from your garden when the tops yellow and flop over 🧅 — that’s the sweet spot for sweet, storable bulbs.
You might be tempted to dig them up as soon as they start forming, but waiting for the right cues makes all the difference. Harvest too early, and you’ll end up with watery, pungent bulbs that won’t store well.
Pull them too late, and you risk rotting or splitting. The key is watching for three simple visual signals that tell you the onions are perfectly ripe.
First, the green tops will turn a golden yellow and begin to droop. Next, the bulbs will firm up and develop a dry, papery skin. Finally, the leaves will crisp and brown at the edges.
These signs mean your onions are ready to pull, cure, and store for months to come.
In this guide, I’ll walk you through these three visual cues, how to adjust for your local climate, and the best ways to cure and store your harvest so you can enjoy homegrown onions all winter long.
3 Visual cues to know when onions are ready for harvesting
Harvesting onions at the perfect moment transforms your garden into a flavorful treasure trove. The difference between sweet, storable bulbs and watery, bitter disappointments often comes down to timing. Many gardeners pull onions too early—resulting in small, pungent bulbs—or leave them too long, leading to rot.
I’ve learned that three key visual cues will help you nail the harvest window every time.
First, pay attention to the leaf color. Healthy green tops signal growth, but when they start turning straw-colored or yellow-brown, it’s your first clue that maturity is near. This change happens gradually, so check your onions regularly.
Second, examine the neck of the bulb—it should thicken noticeably and begin to feel firm to the touch. Finally, the skin should develop a papery texture, which is a clear sign the bulb has stopped growing upward and is ready for harvest.
These three signs work together like a checklist. Ignoring even one can lead to poor storage quality or wasted effort. For example, I once harvested a batch of onions because the leaves looked dry, only to find the bulbs were still soft and underdeveloped.
That’s when I learned to wait for all three cues before pulling.
-
1. Leaf Browning
Tops turn straw-colored and flop over—a clear sign of maturity. Wait until 50-60% of leaves show this change. -
2. Neck Thickening
The base of the onion swells and feels firm to the touch. Gently squeeze—if it gives slightly, it’s not ready. -
3. Papery Skin
The outer skin becomes dry and papery, not slick or rubbery. This is your final green light to harvest.
Let’s break down each cue in detail. The leaf browning starts at the tips and works its way down. If you see yellowing at the base, your onion has likely overstayed its welcome in the soil.
This is especially true for long-day onion varieties, which mature faster in regions with extended daylight. In my Zone 6a garden, I’ve found that onions planted in early April are ready by mid-June if these signs appear.
The neck thickening is a subtle but critical indicator. When the bulb’s neck—where the leaves meet the root—becomes noticeably thicker, it’s a sign the onion has redirected its energy from leaf growth to bulb development. To test this, gently grasp the bulb’s neck.
If it feels plump and resistant, it’s ready. If it’s still soft, give it another week or two. I once missed this cue with a batch of red onion sets and ended up with bulbs that were too small for storage.
Finally, the papery skin is your foolproof signal. A mature onion’s skin should feel dry and crisp, almost like the texture of a brown paper bag. If you peel back a layer and see a thin, white membrane, that’s a good sign.
However, if the skin is still glossy or rubbery, the bulb isn’t fully matured. This is where many gardeners go wrong—they assume the leaves are dry enough but overlook the skin’s texture.
Pro tip: Harvest on a dry, sunny day to allow the bulbs to cure properly in the soil. If rain is forecast, pull them a day early to avoid rot. I’ve learned this the hard way—once, a sudden downpour turned my carefully cured onions into a mushy mess.
After the harvest, trim the tops to about an inch above the bulb and let them cure in a well-ventilated, shady spot for 1-2 weeks before storing.
Regional differences can also affect these cues. In warmer climates, onions may mature faster, and the leaves might brown more quickly. Conversely, in cooler zones, the process slows down, and you might need to extend your harvest window.
Always adjust your expectations based on your local growing conditions. For example, my neighbor in Zone 5 often harvests her onions a week later than I do in Zone 6a.
One common mistake is harvesting based solely on days to maturity listed on seed packets. While these guidelines are helpful, they don’t account for soil conditions, water availability, or weather fluctuations. That’s why relying on visual cues is far more reliable.
Over the years, I’ve found that patience pays off—waiting for all three signs ensures onions that store well and taste sweet, not bitter.
Remember, the goal is flavor and storage life, not speed. If you pull onions too early, they’ll lack the complex sweetness that develops during full maturity. If you wait too long, they’ll split or rot in the ground.
By mastering these three visual cues, you’ll consistently harvest onions that are perfect for cooking, pickling, or long-term storage. Happy harvesting!
How long after onions stop greening should you harvest?
Once your onion tops turn yellow and start drying out, you're entering the critical 7-14 day harvest window. This is when bulbs reach peak flavor and storage potential—but timing matters.
Waiting too long risks rot or sprouting, while harvesting too soon means small, watery onions that won't store well. The exact window depends on your onion variety and local climate.
For most storage onions (like Yellow Sweet Spanish or Texas Early White), wait 7-10 days after greening stops. Green onions and shallots can be harvested sooner—just 3-5 days—since they're harvested for their tops.
The key is watching the neck (stem) between bulb and leaves—when it's 1/4-inch thick and papery, that's your cue.
🚨
⚠️ Don't Wait Too Long!
Onions left in the ground past 14 days after greening risk bolting (sprouting) or rotting from moisture. Short-day varieties (like Texas Early White) bolt faster in heat—harvest within 5-7 days of yellowing. Long-day onions (like Sweet Spanish) have a 10-14 day window but may rot if rain follows.
Your local weather patterns play a huge role. In hot, dry climates, onions dry faster—harvest within 5-7 days of yellowing. In cool, wet regions, extend the window to 10-14 days but monitor for fungus (gray mold).
If rain is forecast, harvest immediately—even if bulbs aren't fully papery—to prevent rot.
Pro tip: Gently lift a test onion by its base to check readiness. If the bulb is 1-2 inches wide and the skin peels back to reveal dry, white layers, it's perfect.
If it's still soft or green inside, wait 3-5 more days. This method works for all onion types, including red, yellow, and white varieties.
For long-term storage, aim to harvest when 50-60% of tops are brown. Let onions cure in the sun for 3-5 days before trimming tops to 1/2-inch above the bulb.
This drying process locks in flavor and prevents spoilage. Store in a cool, dry place (50-60°F) with good airflow for up to 6 months.
Remember: No two onion harvests are identical. Adjust your timing based on variety, soil moisture, and weather. The sweet spot is when bulbs are firm, dry-skinned, and tops are crispy—not when they're still green or already rotting. With practice, you'll nail the window every time! 🧅